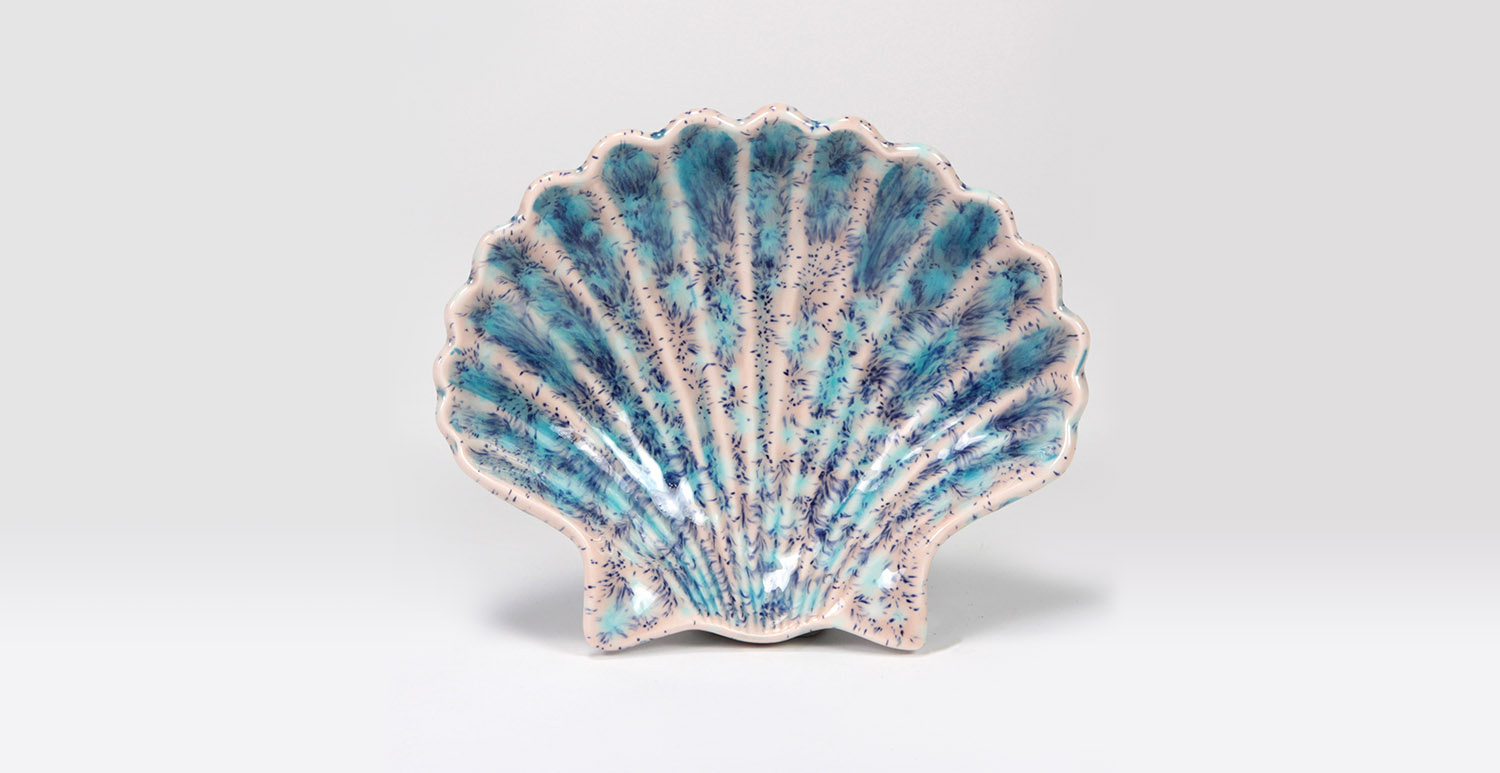
Underglaze Handbuilt Frog and Lily Pad

Designer: Sally Meixner

Share

Instructions

Clay:

  1. Begin a freshly wedged ball of earthenware clay, about the size of a grapefruit. 
  2. Separate the clay to create a smaller ball, about the size of a clementine. Set the rest of the clay underneath plastic to retain moisture.
  3. Holding the smaller ball of clay, push thumb into the center of the ball and start pinching. Rotate your piece between pinches to form walls about ¼ of an inch thick all the way around. Smooth any cracks with a damp sponge and lay the pinch pot on its side to begin drying. The mouth of the pot will sag into an oblong shape as it firms up. This will be your frog body! (It’s okay if your pinch pot doesn’t have a perfectly even surface; pinch pots can be lumpy and so can frogs.)
  4. Using clay set aside, roll a 6-inch coil about width of dime and cut into two 3-inch coils with your needle tool. 
  5. Carefully bend gentle arches in the middles of your two 3-inch coils to make the shapes of inchworms. Use your finger to smooth and compress both sides of each arch to alleviate any cracks and to prevent cracking during drying and firing. These will be your front frog legs!
  6. Lightly pinch one end of each coil to create flat feet and allow coils to firm up with the arches sitting upright. 
  7. Using clay set aside, roll an 8-inch coil about the width of a nickel and cut into two 4-inch coils with your needle tool. 
  8. Carefully bend taller arches in the middles of your two 4-inch coils to make the shape of an inchworm. As practiced in Step 5, use your finger to smooth and compress both sides of each arch to alleviate any cracks and to prevent cracking during the drying and firing. These will be your back frog legs! 
  9. As practiced in Step 6, lightly pinch one end of each coil to create flat feet and allow coils to firm up with the arches sitting upright.
  10. Using clay set aside, roll an additional 4-inch coil about the width of a nickel. Gradually flatten your coil with wet fingers, as if petting a snake, and curve the flattened coil into a slope. Allow the flattened, sloped coil to firm up while laying on its side to prevent the curve from straightening as it dries. This will be your frog tongue! 
  11. Using clay set aside, roll two balls of clay about the size of malted milk balls. These will be your frog eyes! Roll a third, slightly larger ball of clay about the size of a gumball. This will be your fly!
  12. Begin to assemble your frog in the order it was created. Slip and score with your needle tool to attach the legs to the underside of your pinch pot, pressing together gently at first to ensure the placement is correct. Follow by slipping and scoring the tongue into the inside wall. As you firmly join the legs underneath and tongue inside, expect the underside of your pinch pot to flatten a bit.  
  13. Slip and score with your needle tool to attach the eyes on top of the body, and the fly on top of the tongue. Press the underside of the tongue as you attach the fly to prevent the slope from flattening. Inspect for any cracks in the joined surfaces that may need to be smoothed. 
  14. Use a toothpick to create toes by cutting two notches into each foot. Allow your frog to dry slowly under plastic. 
  15. Slap together all remaining clay under the plastic and roll into a slab about 1/4” thick. Use a rib to firmly compress both surfaces of the slab to prevent cracking during drying and firing. 
  16. Use your needle tool to cut a circle about 4 ½” in diameter from the slab and cut a wedge from the circle as if cutting a slice of pizza. Run a damp sponge along the cut surfaces to soften sharp edges. This is your lily pad! Allow your lily pad to dry slowly with your frog under plastic.

Underglaze:

  1. Apply 2-3 coats of UG-216 Peach to the tongue of the frog using CB-106 #6 Script Liner. 
  2. If using clay that is not white, apply 2-3 coats of UG-51 China White to the front of the eyeballs of the frog using CB-106 #6 Script Liner.
  3. Apply 2-3 coats of UG-22 Spring Green to the body of the frog using CB-602 #2 Soft Fan. Switch to CB-200 #0 Detail when painting a circle around the eyes of the frog. 
  4. Use a CB-200 #0 Detail to apply 2-3 coats of UG-209 Jade as irises in the eyes of the frog, then switch to a CB-602 #2 Soft Fan and cover both sides of the lily pad with 2-3 coats of the same color. 
  5. 5. Apply 2-3 coats of UG-91 True Teal to the inside of the mouth using a CB-106 #6 Script Liner, switching to a CB-200 #0 Detail to cover the edge where the tongue rests inside the mouth. Dampen a clean BT-910 Synthetic Sponge and pat the same color around the edges and in the center of the lily pad. 
  6. Dampen a clean BT-910 Synthetic Sponge and pat UG-21 Leaf Green on to back of the frog, including the backs of the eyes, as well as on the bends of the legs.
  7. Use the back of a brush to apply polka-dots of UG-68 Apple Green on top of the sponged UG-21 Leaf Green on the frog, and on top of the sponged UG-91 True Teal in the center of the lily pad. 
  8. Apply 2-3 coats of UG-50 Jet Black with a CB-106 #6 Script Liner to the body of the fly.
  9. Use the back of a brush to apply two dots of UG-51 China White onto the body of the fly for eyes.
  10. Add pupils into the eyes of the frog and the fly with UG-50 Jet Black using a CB-200 #0 Detail.
  11. Bisque fire both pieces to Cone 04.

Clear:

  1. Dampen a clean BT-910 Synthetic Sponge and wipe bisque to remove debris. 
  2. Using a CB-602 #2 Soft Fan, apply two coats of S-2101 Crystal Clear Brushing to all surfaces of both the frog and lily pad. 
  3. Stilt and fire to Cone 06. 

Tips:

  1. Waiting for your pieces to firm up into a leatherhard stage will strengthen them and help to avoid losing shape as they are joined together.  
  2. Unless working extremely quickly or in an especially humid environment, keeping earthenware clay under plastic while not in use is critical to keeping it pliable!  
  3. Drying finished pieces slowly allows them to dry more evenly. Clay shrinks as it dries, and uneven shrinking causes tension that can cause your piece to crack or even come apart.  
  4. All listed measurements can be freely approximated or altered for perfectly successful interpretations of the same design.  
  5. Patiently allow your underglaze to dry before applying more coats; do not rapidly dry your underglaze with a fan or hair dryer! This may cause the underglaze to crack and flake.  
  6. The use of small brushes is helpful for crisp edges and detail but can cause a streaky appearance when used to cover larger areas. Utilize a larger brush wherever possible for the most even application. 

Supplies

Form

  • White Earthenware Clay 

Colors

  • UG-21 Leaf Green  
  • UG-22 Spring Green 
  • UG-50 Jet Black 
  • UG-51 China White 
  • UG-68 Apple Green 
  • UG-91 True Teal 
  • UG-209 Jade 
  • UG-216 Peach 
  • S-2101 Crystal Clear Brushing

Decorating Accessories

  • CB-106 #6 Script Liner 
  • CB-602 #2 Soft Fan 
  • CB-200 #0 Detail 

Miscellaneous Accessories

  • Sponge
  • Needle Tool 
  • Ruler 
  • Plastic covering  
  • Water 
Top