Large Rounded Mushroom
- Begin with properly fired shelf cone 04 bisque. Moisten a clean sponge and wipe bisque to remove any dust.
- Using a CB408 #8 Pointed Round, apply 1 coat of SC033 Fruit Of The Vine to the area under the mushroom top and the top area of the stem. Allow to dry!
- With a damp sponge, wipe back the excess color leaving the color in the deep crevices. Allow to dry!
- Using a CB408 #8 Pointed Round, Apply 2 coats of SC074 Hot Tamale to the area under the mushroom top and to the top area of the stem right over the previous color. Allow to dry!
- Using a CB604 #4 Soft Fan, apply 3 coats of SC033 Fruit Of The Vine to the lower section of the mushroom stem.
- Stir well the SG302 Spearmint Snow Gem then put lid back on the jar and shake well to get the crystals mixed in the glaze. Place some on a paper plate or palette to keep the crystals from settling back to the bottom of the jar.
- Using a CB408 #8 Pointed round, apply 2-3 coats of SG304 Berry Snow Gem to the mushroom top avoiding the dots.
- Place a teaspoon of SG304 Berry Snow Gem into a small 2-ounce cup then add about 10 – 12 drops of SC033 Fruit Of The Vine, mix well.
- Using a CB404 #4 Pointed Round, apply 2-3 coats of this mixed color to the dots on the mushroom top. Allow to dry!
- Using a CB604 #4 Soft Fan, apply 1 coat of S2101 Crystal Clear Brushing glaze to the area under the top of the mushroom and to the mushroom stem. Allow to dry.
- Stilt and fire to shelf cone 06-05.
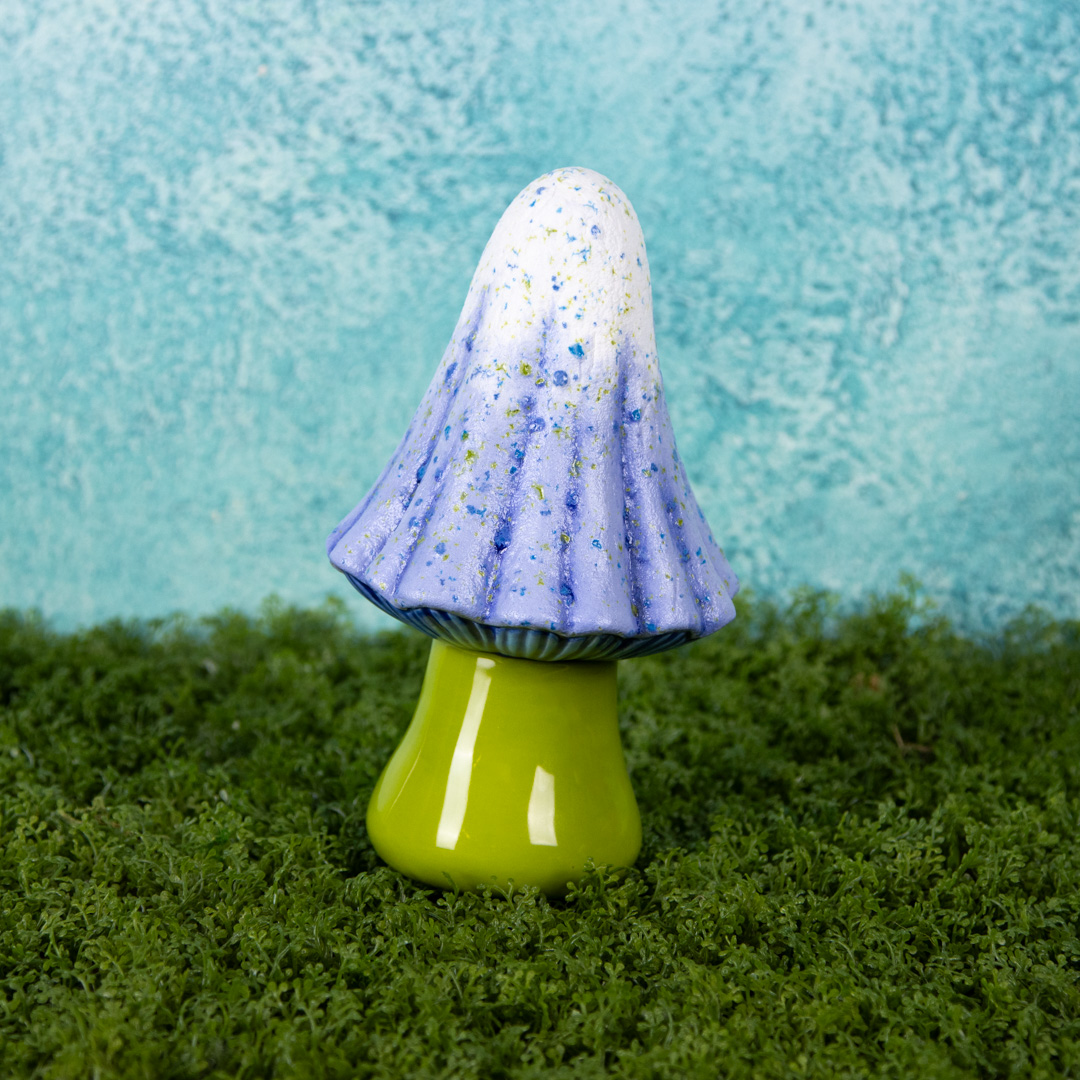
Large Pointed Mushroom
- Begin with properly fired shelf cone 04 bisque. Moisten a clean sponge and wipe bisque to remove any dust.
- Using a CB408 #8 Pointed Round, apply 1 coat of SC012 Moody Blue to the area under the mushroom top. Allow to dry!
- With a damp sponge, wipe back the excess color leaving the color in the deep crevices. Allow to dry!
- Using a CB408 #8 Pointed Round, Apply 2 coats of SSC011 Blue Yonder to the area under the mushroom top right over the previous color. Allow to dry!
- Using a CB604 #4 Soft Fan, apply 3 coats of SC027 Sour Apple to the lower section of the mushroom stem.
- Stir well the SG302 Spearmint Snow Gem then put lid back on the jar and shake well to get the crystals mixed in the glaze. Place some on a paper plate or palette to keep the crystals from settling back to the bottom of the jar.
- Using a CB604 #4 Soft Fan, apply 2-3 coats of SG302 Spearmint to the top half of the mushroom top.
- Place 2 teaspoon of SG302 Spearmint Snow Gem into a small 2-ounce cup then add about 10 – 12 drops of SC012 Moody Blue, mix well.
- Using a CB604 #4 Soft Fan, apply 2-3 coats of this mixed color to the bottom half of the mushroom top blending into the color placed on the top half. Allow to dry!’
- Using a CB604 #4 Soft Fan, apply 1 coat of S2101 Crystal Clear Brushing glaze to the area under the top of the mushroom and to the mushroom stem. Allow to dry.
- Stilt and fire to shelf cone 06-05.
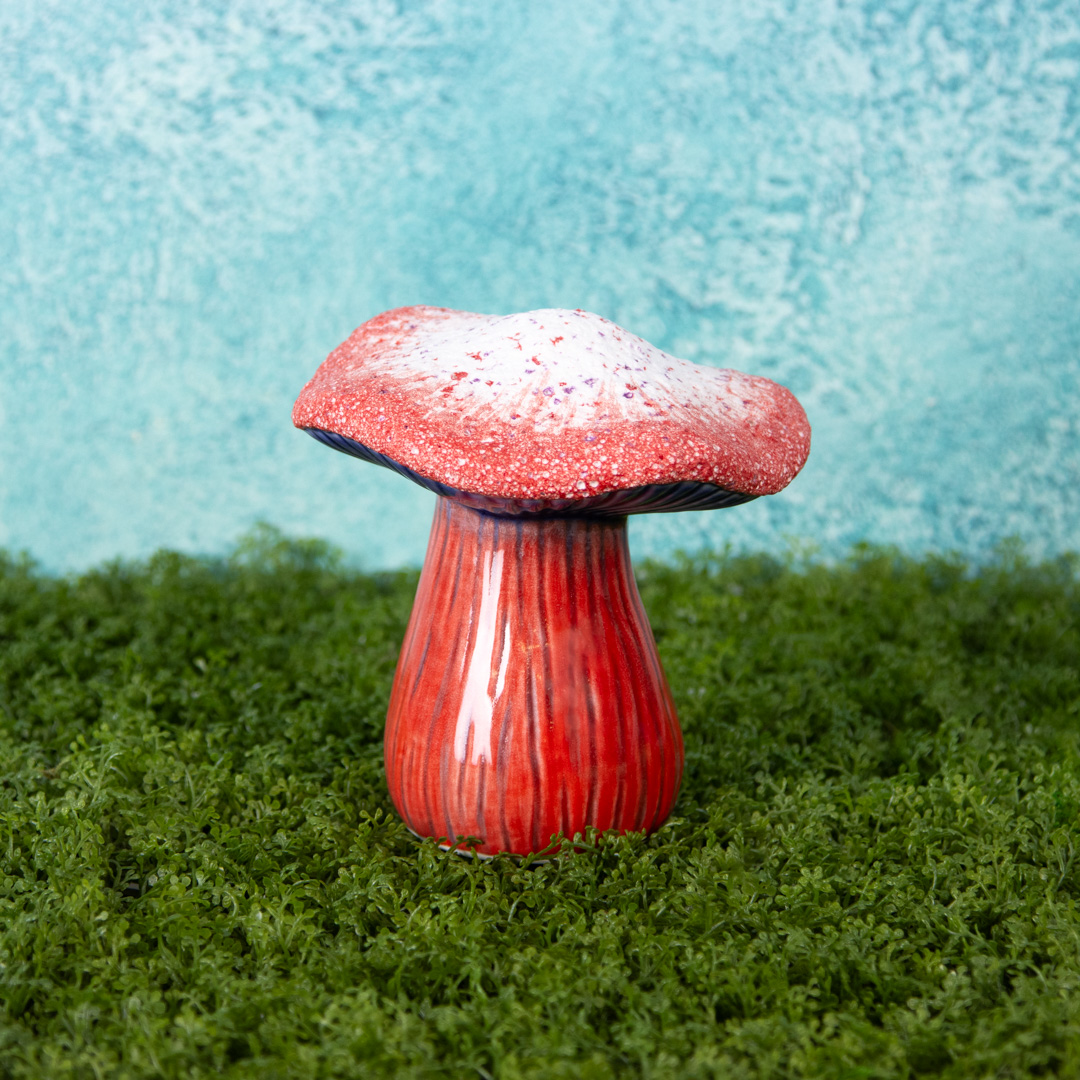
Stoneware Amanita Mushroom
- Begin with properly fired shelf cone 04 bisque. Moisten a clean sponge and wipe bisque to remove any dust.
- Using a CB408#8 Pointed Round, apply 1 coat of SC033 Fruit Of The Vine to the area under the mushroom top and to the stem. Allow to dry!
- With a damp sponge, wipe back the excess color leaving the color in the deep crevices. Allow to dry!
- Using a CB604 #4 Soft Fan, apply 2 coats of SC074 Hot Tamale to the area under the mushroom top and to the Stem. Allow to dry!
- Stir well the SG304 Berry Snow Gem then put lid back on the jar and shake well to get the crystals mixed in the glaze. Place some on a paper plate or palette to keep the crystals from settling back to the bottom of the jar.
- Using a CB604 #4 Soft Fan, apply 2-3 coats of SG304 Berry Snow Gem to the mushroom top. Allow to dry!
- Using a DB805 #3 Fan, apply a coat of SC074 Hot Tamale around the edge of the mushroom streaking it from the edge to war the center of the mushroom. Allow to dry!
- Make sure to dry foo the piece. Do Not Stilt!
- Place on a clean kiln shelf.
- Fire to shelf cone 6.
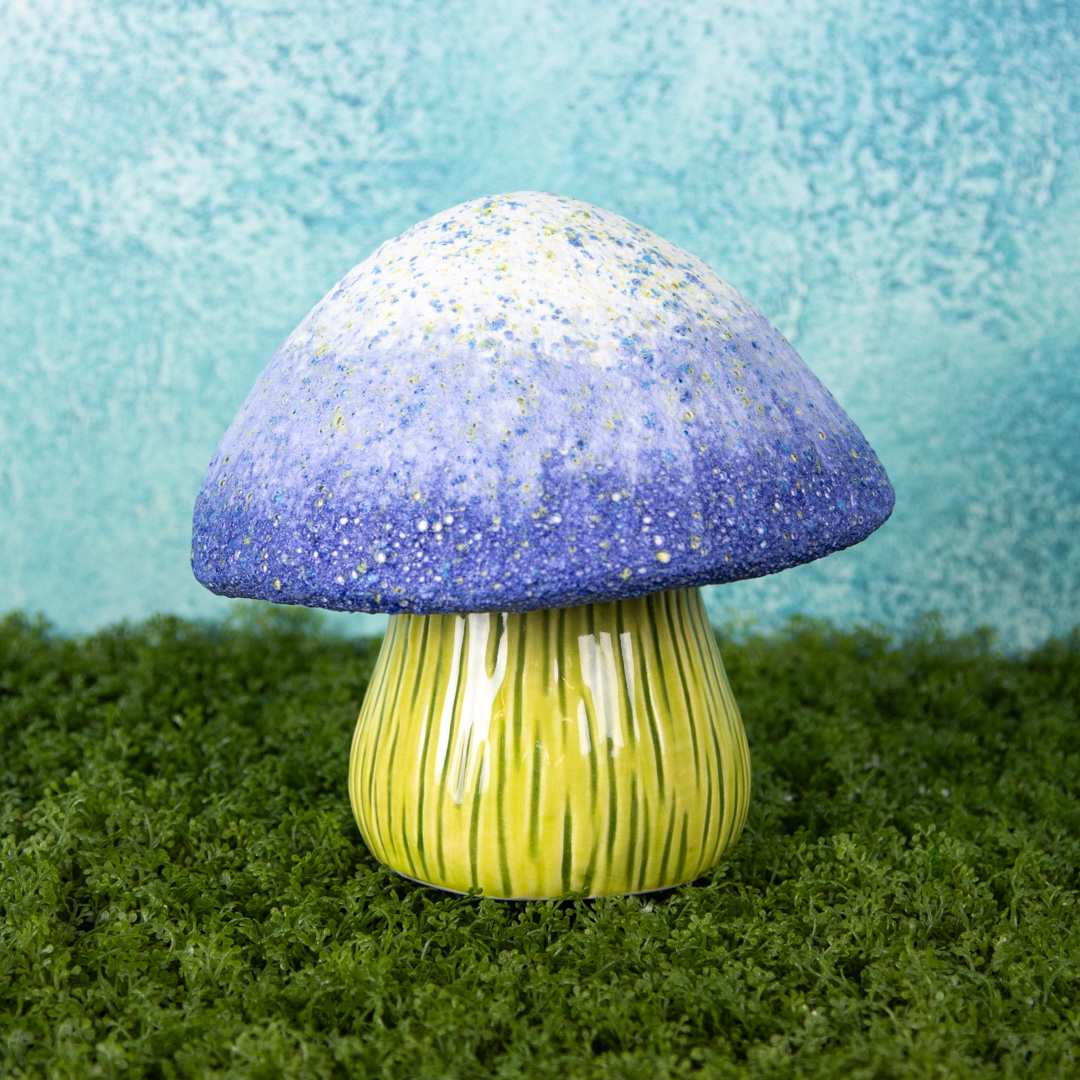
Russula Mushroom
- Begin with properly fired shelf cone 04 bisque. Moisten a clean sponge and wipe bisque to remove any dust.
- Using a CB408 #8 Pointed Round, apply 1 coat of SC012 Moody Blue to the area under the mushroom top. Allow to dry!
- With a damp sponge, wipe back the excess color leaving the color in the deep crevices. Allow to dry!
- Using a CB604 #4 Soft Fan, apply 2 coats of SSC011 Blue Yonder to the area under the mushroom top right over the previous color. Allow to dry!
- Using a CB604 #4 Soft Fan, apply 1 coat of SC008 Just Froggy to the stem.
- With a damp sponge, wipe back the excess color leaving the color in the deep crevices. Allow to dry!
- Using a CB604 #4 Soft Fan, apply 2 coats of SC027 Sour Apple to 2 the mushroom stem.
- Stir well the SG302 Spearmint Snow Gem then put lid back on the jar and shake well to get the crystals mixed in the glaze. Place some on a paper plate or palette to keep the crystals from settling back to the bottom of the jar.
- Using a CB604 #4 Soft Fan, apply 2-3 coats of SG302 Spearmint to the top half of the mushroom top about halfway down.
- Place 2 teaspoon of SG302 Spearmint Snow Gem into a small 2-ounce cup then add about 10 – 12 drops of SC012 Moody Blue, mix well.
- Using a CB604 #4 Soft Fan, apply 2-3 coats of this mixed color to the bottom half of the mushroom top blending into the color placed on the top half. Allow to dry!
- Using a DB805 #3 Fan, apply a coat of SC012 Moody Blue around the edge of the mushroom streaking it from the edge to war the center of the mushroom. Allow to dry!
- Make sure to dry foo the piece. Do Not Stilt!
- Place on a clean kiln shelf.
- Fire to shelf cone 6.
Additional Adaptations & Tips if needed.
- Make sure to mix the crystals well from the bottom of the jar of Snow Gem.
- Placing the mixed color on a paper plate or palette will keep the crystals from settling back in the bottom of the jar.
- Be careful not to drag the crystal that it scratches the glaze. If not smoothed out it will fire as a scratch.
- By placing a coat of clear glaze on the bisque surface helps keep the Snow Gem from pulling back.