Color
Fired
Low-Fire Glazes
Mid-Range Glazes
High-Fire Glazes
Glaze Combinations
Astro Gem™
Classic Crackles©
Cobblestone
Designer Liner
Elements™ & Elements™ Chunkies
E-Z Stroke® Translucent Underglazes
Fired Snow
Flux
Foundations®
French Dimensions™
Fundamentals® Underglazes
Jungle Gems™
Low Fire Clear-Brushing
Low Fire Clear-Dipping
Overglazes
Pottery Cascade™
Product Kits
Raku
Speckta-Clear
Stoneware
Stoneware Clear
Stoneware Engobes
Stoneware Specialty
Stroke & Coat
Speckled Stroke & Coat
Washes
Fired Accessories
Clay Mender
Kiln Wash
Silkscreen Medium
Thin ‘N Shade
Wax Resist
Non-Fired
Bisq-Stain®
Dazzling Metallics®
Magic Metallics™
Matte and Gloss Sealers
Non-Fired Snow
Softees® Acrylics
Softees® Pearls
Sparklers™ Brush-On Glitter
Thin ‘N Shade
Ultra Metallics™
Forms
New Forms
Earthenware Bisque
Stoneware Bisque
Tools
Accessories
Brushes
Silkscreens
Communities
Creative Studios
Potters & Hobbyists
Art Educators
Traditional Artists
Artist Features
Projects
Resources
Dinnerware & Food Safety
Health & Safety
Literature and Price Lists
Mayco Product Updates
Ceramic Education
Product Conversions
Product Warranty & Freeze Policies
Safety Data Sheets (SDS)
Certificate of Conformity
Store
Cart
Color
Fired
Low-Fire Glazes
Mid-Range Glazes
High-Fire Glazes
Glaze Combinations
Astro Gem™
Classic Crackles©
Cobblestone
Designer Liner
Elements™ & Elements™ Chunkies
E-Z Stroke® Translucent Underglazes
Fired Snow
Flux
Foundations®
French Dimensions™
Fundamentals® Underglazes
Jungle Gems™
Low Fire Clear-Brushing
Low Fire Clear-Dipping
Overglazes
Pottery Cascade™
Product Kits
Raku
Speckta-Clear
Stoneware
Stoneware Clear
Stoneware Engobes
Stoneware Specialty
Stroke & Coat®
Speckled Stroke & Coat®
Washes
Fired Accessories
Clay Mender
Kiln Wash
Silkscreen Medium
Thin ‘N Shade
Wax Resist
Non-Fired
Bisq-Stain®
Dazzling Metallics®
Magic Metallics™
Matte and Gloss Sealers
Non-Fired Snow
Sparklers™ Brush-On Glitter
Softees® Acrylics
Softees® Pearls
Thin ‘N Shade
Ultra Metallics™
New Colors
Bubblegum
New Colors
Heather
New Colors
Dark Brown Engobe
New Colors
White Engobe
New Colors
Speckled Buff Engobe
View All New Colors
Forms
New Forms
Earthenware Bisque
Stoneware Bisque
Tools
Accessories
Brushes
Silkscreens
Communities
Creative Studios
Potters & Hobbyists
Art Educators
Traditional Artists
Artist Features
Projects
Resources
Dinnerware & Food Safety
Health & Safety
Literature and Price Lists
Product Updates
Ceramic Education
Product Conversions
Product Warranty & Freeze Policies
Safety Data Sheets (SDS)
Certificate of Conformity
Store
Cart
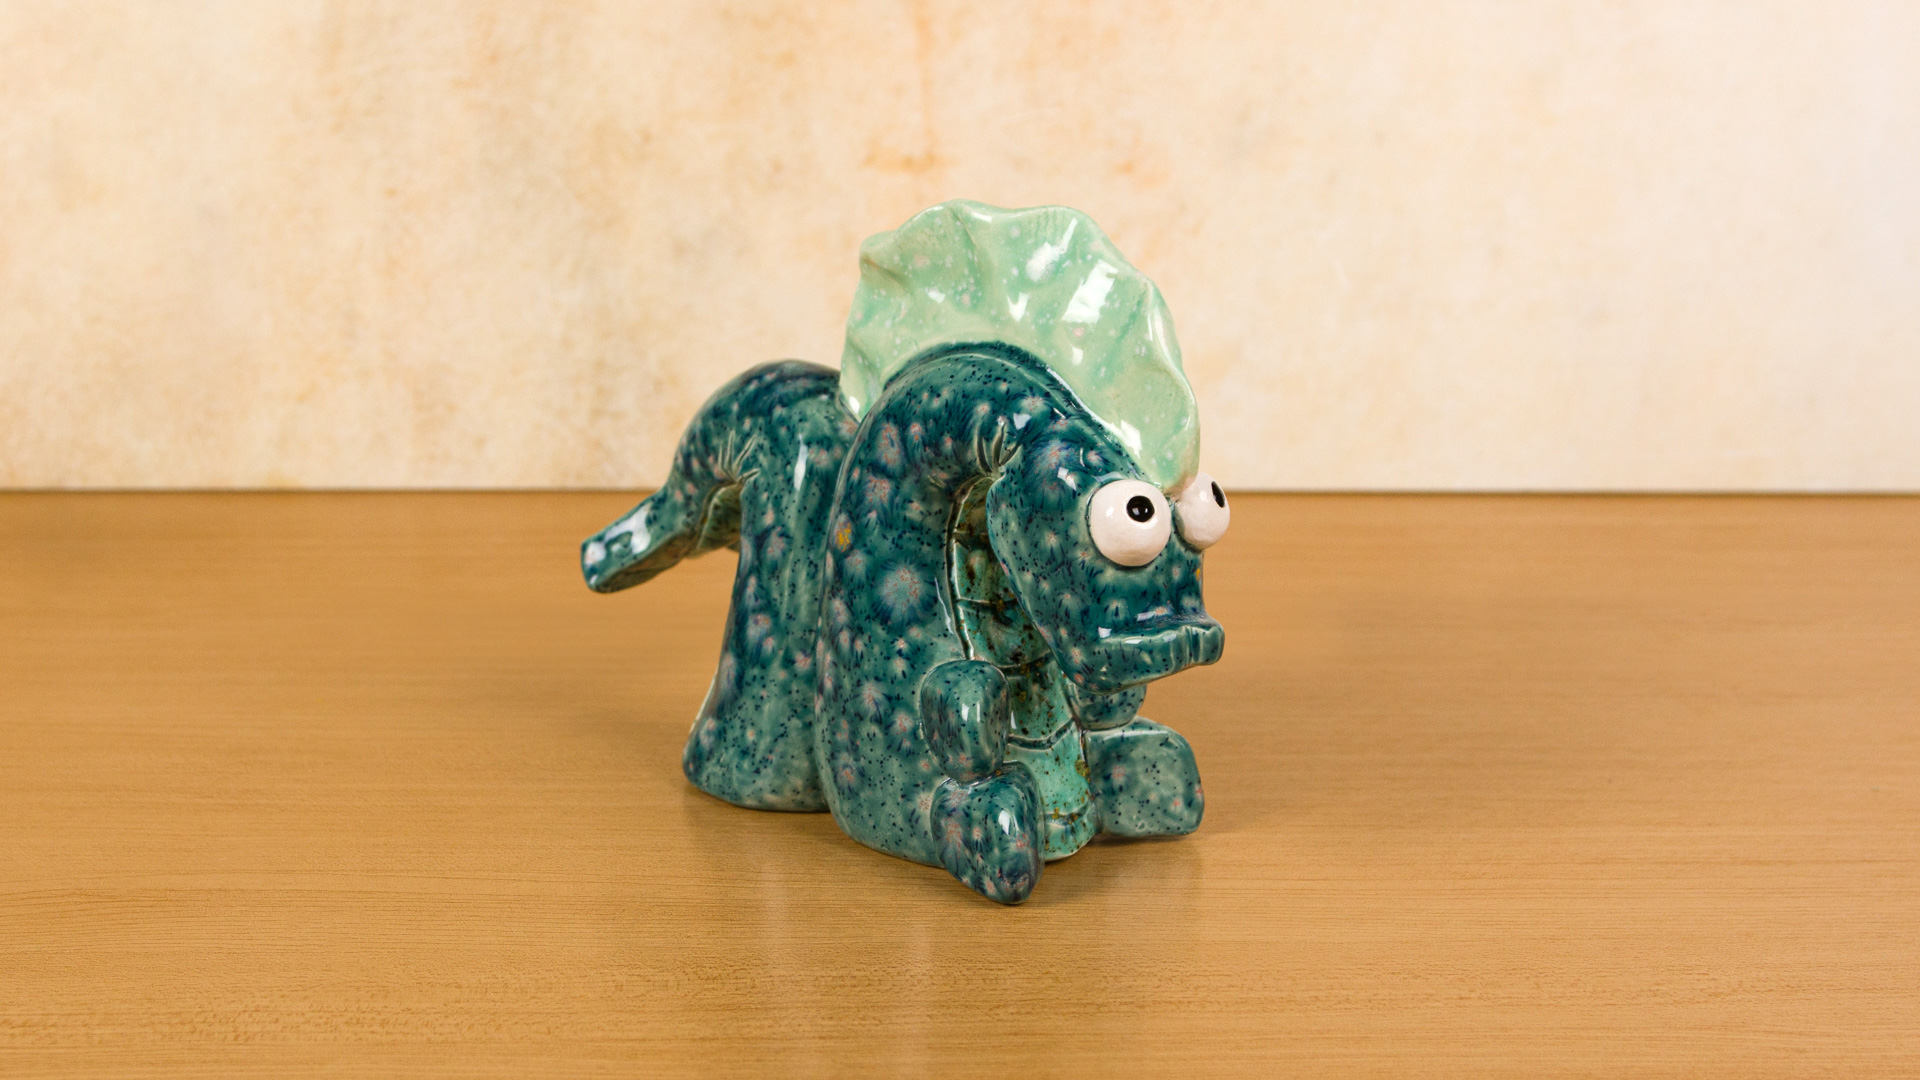
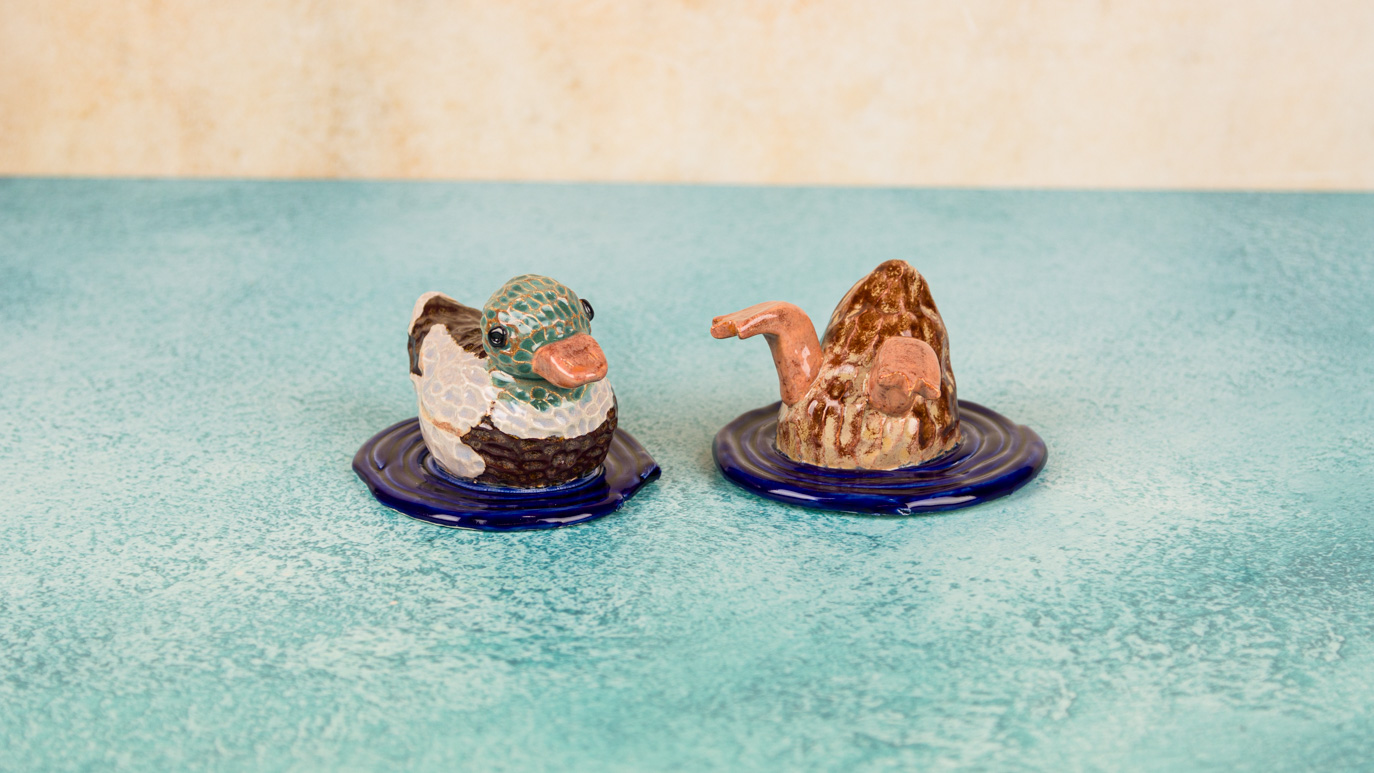
Plushy Sea Monster
Designer:
Bailie Benson
Share
Instructions
Separate the 1.5 lbs of clay into 1lb and ½ lb balls.
Take the 1lb ball and split it into 1/3 and 2/3 sections.
Set aside the 1/3 section and cover.
Roll the 2/3 section into a single thick coil that it slightly tapered on one side. This is the body/neck of the sea monster.
Flatten the bottom of the thicker side by bonking it on the table.
Curve the top of the thick coil over slightly.
Take the remaining 1/3 of the ball and create the same shape. This will be the tail.
Roll a small grape sized ball of clay from the 1/2lb ball.
Create a cube of clay slightly smaller than the ball of clay.
Connect cube and ball together to form the head.
Scratch and attach the head to the tip of the body coil.
Scratch and attach the tail coil to the back of the body coil.
Create stubby flippers, fins, eyes, fin crests, and other accessories from the extra ball of clay.
Scratch and attach accessories to the body of the sea monster.
Carve in any extra designs with a toothpick.
Carve out excess clay from the inside of the piece to thin the sculpture.
Allow to fully dry. 18. Bisque fire to cone 04.
Begin with properly fired bisque.
Mix Blue Guppy and Seafoam 50/50
Using a script liner brush, glaze the underbelly with the Jungle Gem glaze mix. 3 coats.
Glaze the body with three coats of Bloomin’ Blue.
Glaze the top fin (if applicable) with three coats of Seafoam.
Using the detail brush, add Bloomin’ Blue in the carved lines.
Allow to dry.
Stilt and fire to cone 06.
Supplies
Form
1.5lb low fire clay
Colors
CG974 Bloomin’ Blue
CG997 Seafoam
CG1008 Blue Guppy
FN009 Black
FN001 White
Decorating Accessories
RB106 Script Liner brush
CB220 Detail Liner brush
Miscellaneous Accessories
Sponge
Water
Carving tools
Toothpick
Similar Projects
Back to Lesson Plan Projects
Top