Using the same about of clay create an additional pinch pot with a hole at the bottom
Flatten 3 small pieces of clay between your palms. Cut these pieces to create two wings of similar shape and size, and one belly piece.
Attach these by slipping and scoring.
Create the feather texture in the wings by pressing the eraser end of your pencil into the wings, creating impressions of the metal fastener of your pencil.
Roll two small balls as the eyes and push the eraser end of your pencil into the center of each ball to create the eyes, flatten the back against the table, slip and score to attach them to the owl.
Take a small piece of clay and mold the beak of the owl, attach this between the two eyes.
Smooth out your connections with your fingers and water.
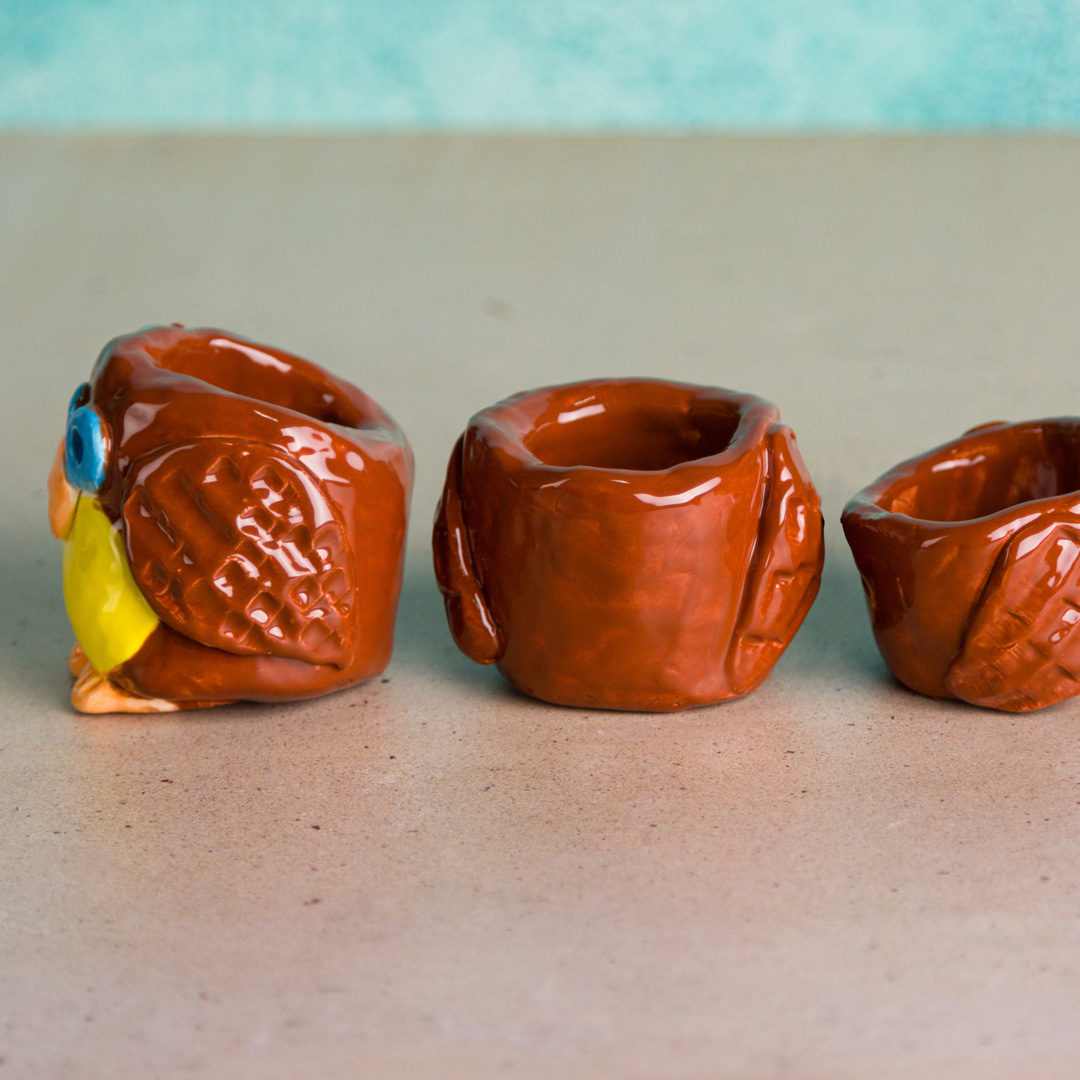
Once your pot is completely dry, bisque fire your pot to cone 04.
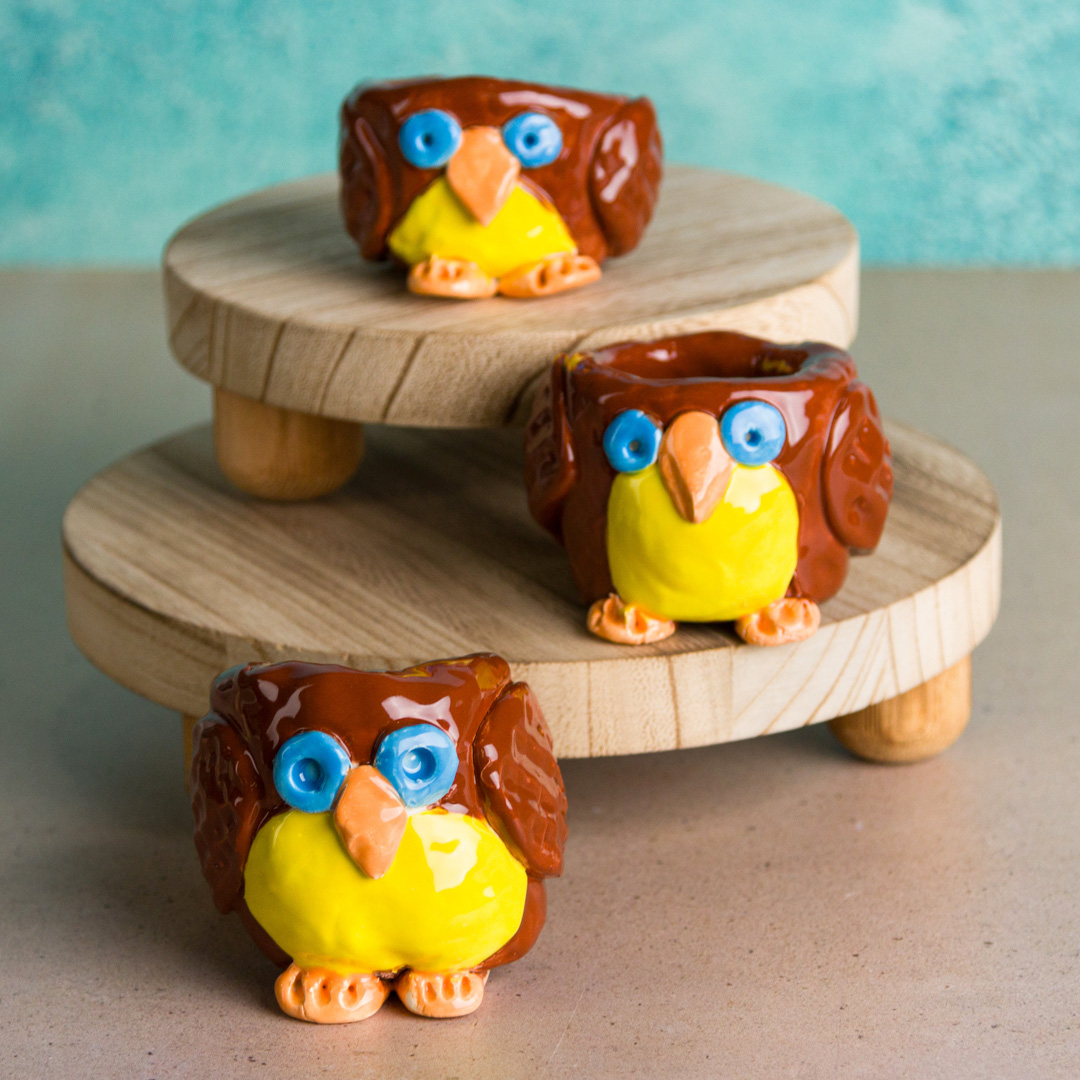
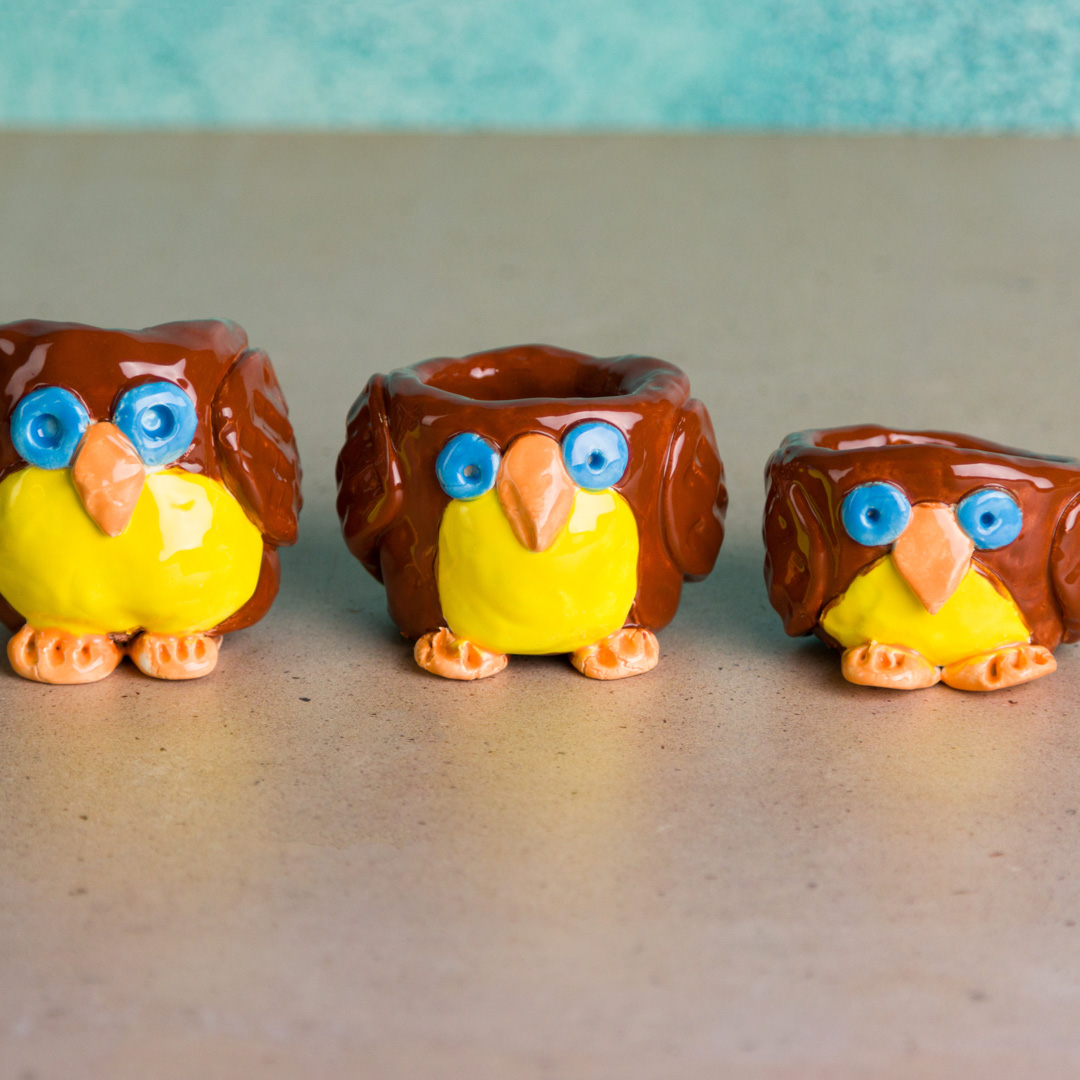
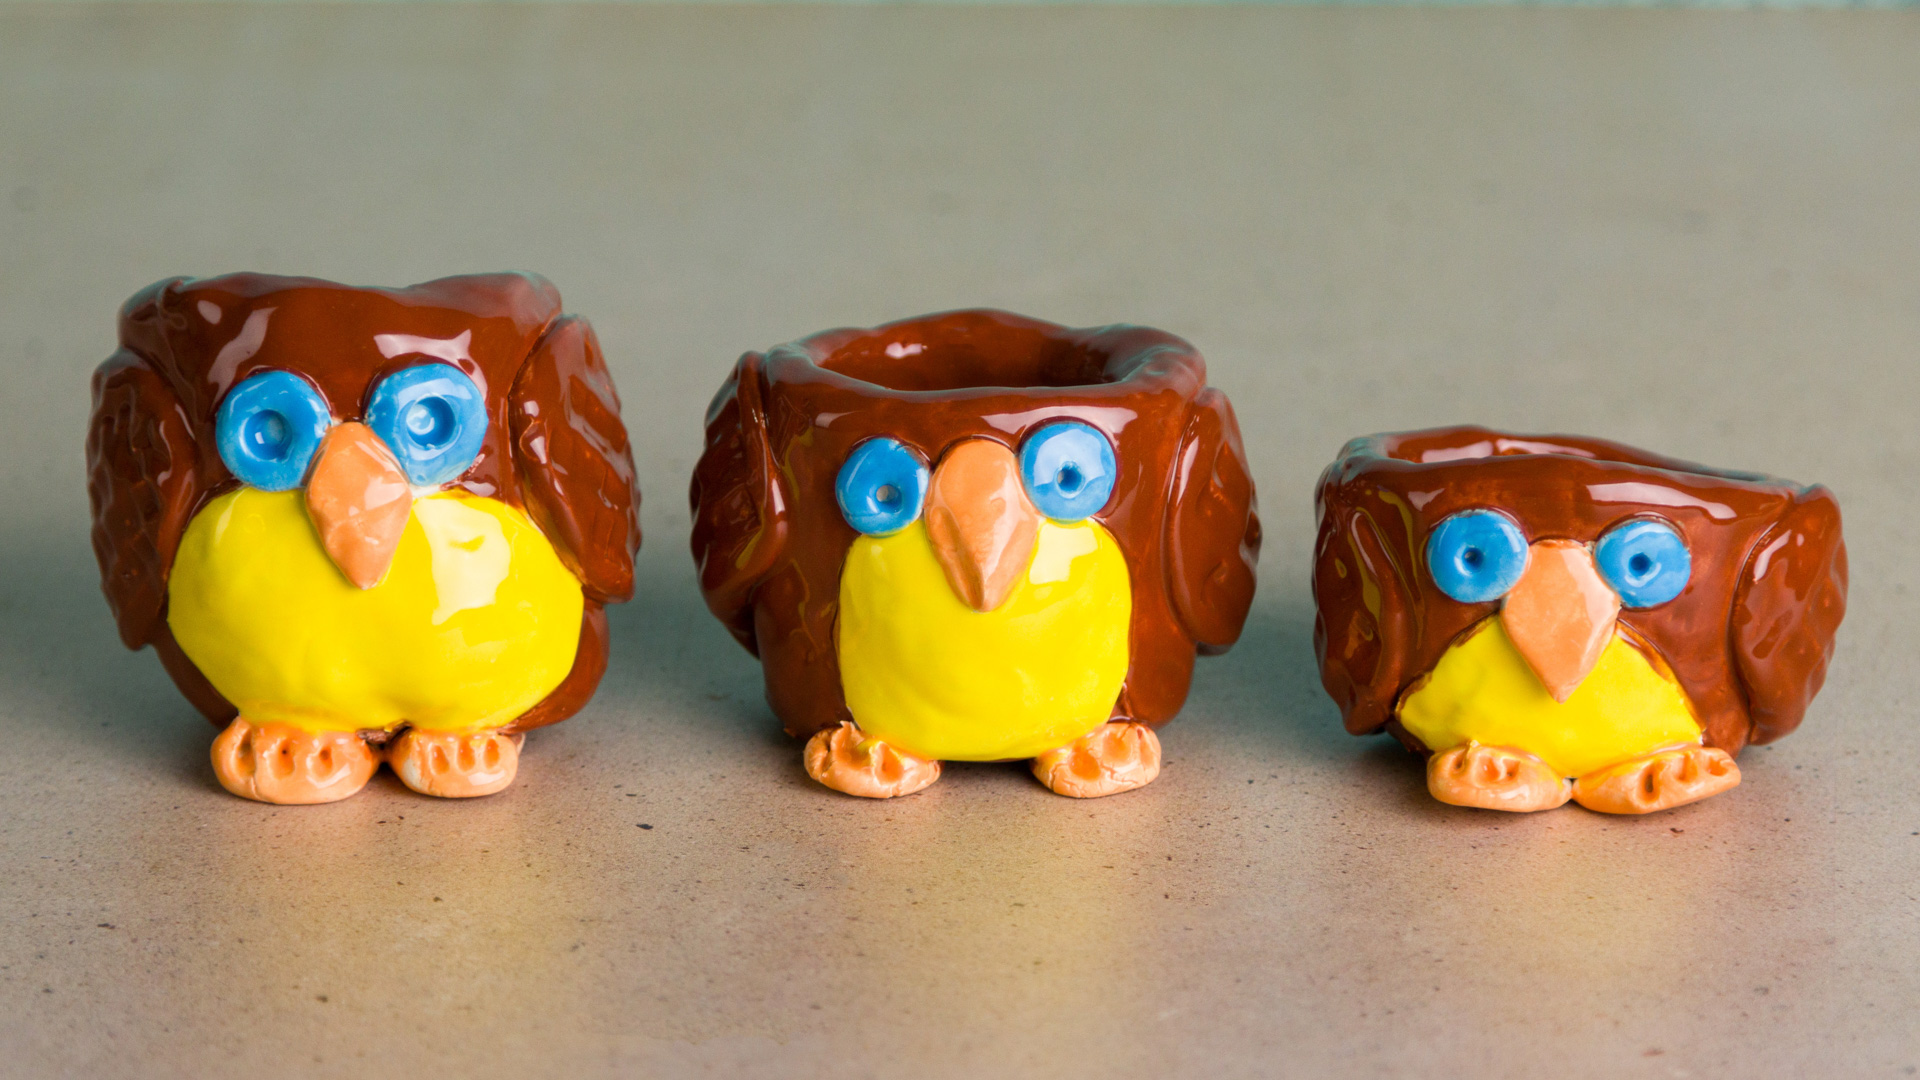
Coat your pot with 3 coats of SC048 Camel Back, covering all spaces but the belly, feet, eyes, and beak.
NOTE: Always allow your glaze to dry completely in between coats.
Using a detail brush add 3 coats of SC011 Blue Yonder to the eyes.
Using 3 coats of SC006 Sunkissed, glaze the belly of your owl.
Using a detail brush apply 3 coats of SC075 Orange-A-Peel, to the feet and beak.