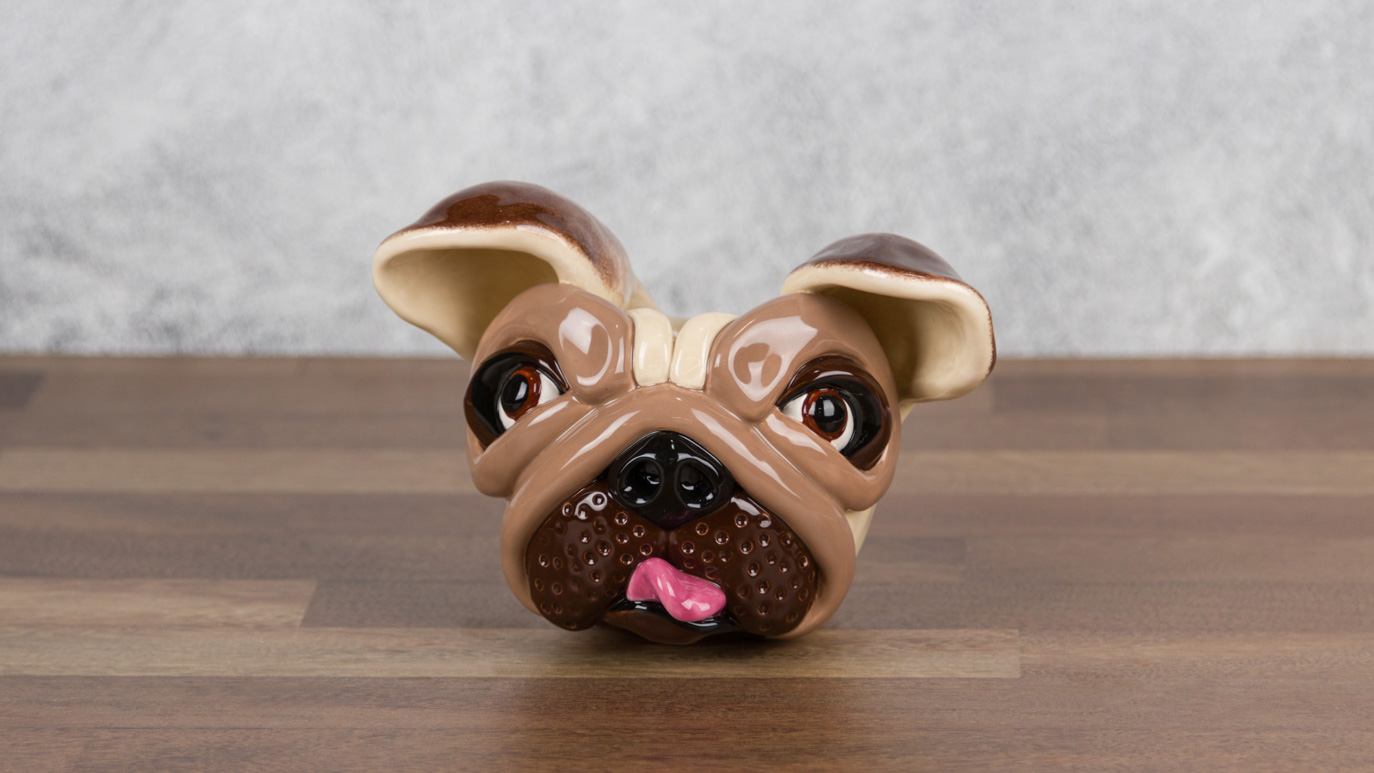
Pinch Pot Pug

Designer: Sally Meixner

Share

Instructions

  1. Start with two pounds of clay, split in half.
  2. With one pound of clay, create a pinch pot. The other pound of clay will be for creating the attachments.
  3. Lightly mark the locations for the eyes, nose, and mouth.
  4. For jowls, roll and flatten a short chubby coil and cut it in two. Soften edges with gentle pinching.
  5. Scratch and attach the jowl pieces.
  6. Roll and attach balls for eyes.
  7. Roll and pinch ball into nose and attach.
  8. Poke nostril holes with back of brush with an upward angle.
  9. Roll and gently flatten more coils, slip/score, winding them around eyes and snout to make heavy eyelids and wrinkles.
  10. Gently flatten short coil for tongue, pinching edges slightly thinner but leaving weight in the bulk of it to keep it strong.
  11. Scratch and attach the tongue.
  12. Scratch and attach a chubby coil under tongue for chin.
  13. Pinch two shell shapes, scratch and attach ears.
  14. Using sculpting tools, add any desired texture (whisker holes, fur, etc.).
  15. Colors are applied in order of light to dark.
  16. Everything is applied in 3 coats using a soft fan brush, or script liner brush, except for the sponged colors:
    1. FN059 body
    2. FN060 wrinkles/ ear sponged
    3. FN055 tongue
    4. FN009 & FN001 eyes
    5. FN008 lids, muzzle/ ear sponged
    6. FN009 nose
    7. FN029 eye color
  17. Allow the whole piece to completely dry.
  18. Fire to cone 04.

Supplies

Form

  • 2lb low fire clay

Colors

  • FN059 Cashmere
  • FN060 Mushroom
  • FN055 Bubblegum
  • FN009 Black
  • FN001 White
  • FN008 Brown
  • FN029 Rich Chocolate

Decorating Accessories

  • CB604 #4 Soft Fan Brush
  • RB106 Script Liner brush

Miscellaneous Accessories

  • Sponge
  • Water
  • Carving tools
  • Dull pencil or ballpoint pen
  • Toothpick
Top