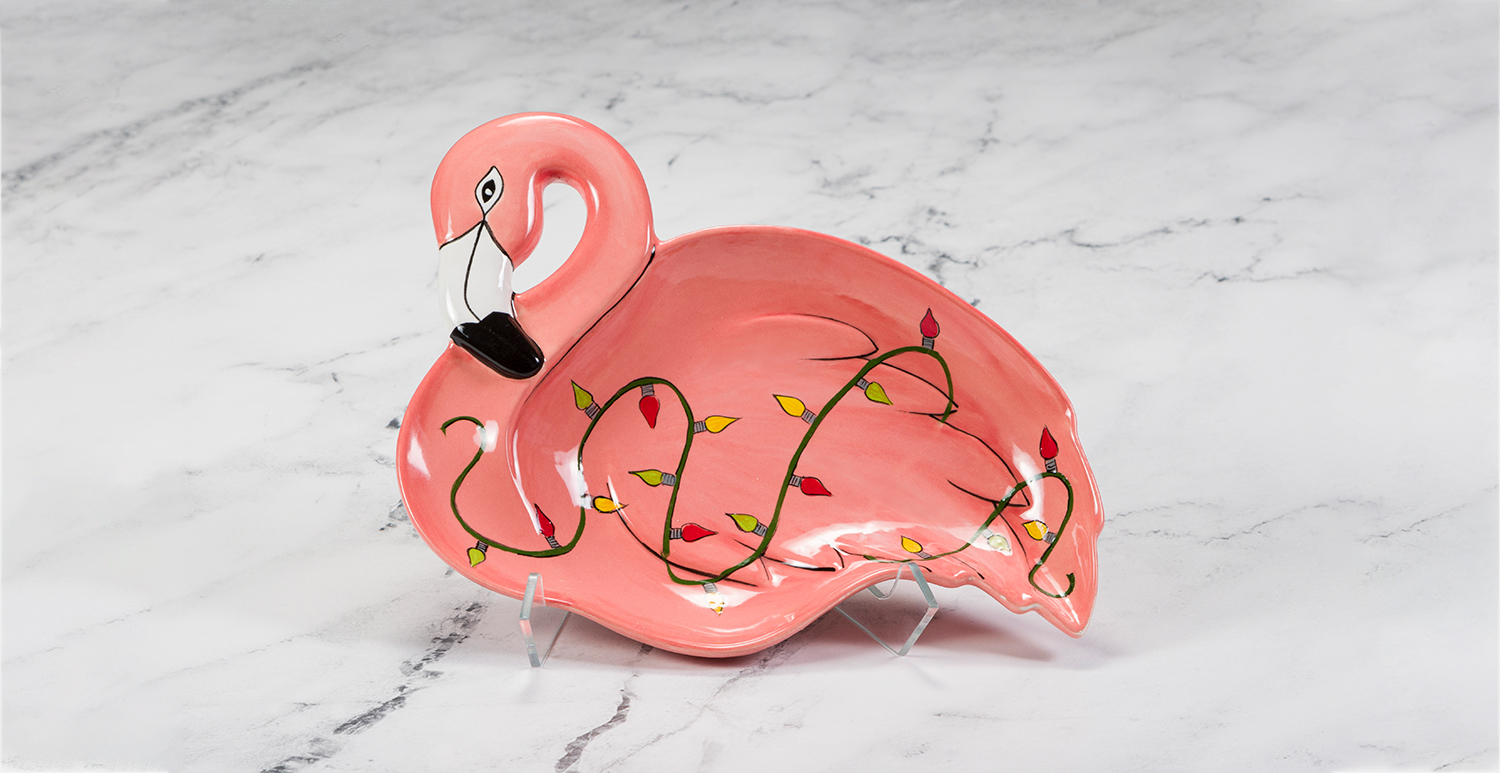
Holiday Light Flamingo

Designer: Marcia Roullard

Share

Instructions

  1. Begin with properly fired shelf cone 04 bisque. Moisten a clean sponge and wipe bisque to remove any dust.
  2. Using the Script Liner with SC-16 Cotton Tail, apply 3 coats to the upper beak and eye. Allow glaze to dry between coats.
  3. Using the Soft Fan and Script Liner with SC-2 Melon-Choly, apply 2 coats to the flamingo. Allow glaze to dry between coats.
  4. Using the Soft Fan with SC-2 Melon-Choly, apply 1 coat to the flamingo and shade the edges and wing with SC-89 Cutie Pie Coral. Using the Script Liner with SC-16 Cotton Tail, make lines on the wing to look like feathers.
  5. Using the Script Liner with SC-15 Tuxedo, apply 2 coats to the end of the beak. Use the Detail Liner to outline the beak, eye, neck and wing.
  6. Use the pencil to sketch a strand of lights on the flamingo.
  7. Use the Detail Liner with SG-403 Red, SG-405 Green, SG-407 Yellow and SG-409 Bright Green to apply 1 coat to the lights.
  8. Using the Detail Liner with SC-35 Gray Hare, apply 2 coats to the bottom of the light bulbs. Allow glaze to dry between coats.
  9. Use SG-401 Black to outline the lights.
  10. Using the Soft Fan with S-2101 Clear Brushing Glaze, apply 1 coat over the lights or dip into NT-CLR Clear Dipping Glaze.
  11. After the front is dry, turn over and apply 3 coats of SC-2 Melon-Choly to the back of the flamingo. Allow glaze to dry between coats.
  12. Fire to cone 06.

Supplies

Form

  • MB-1522 Frieda Flamingo Dish

Colors

  • SC-2 Melon-Choly
  • SC-15 Tuxedo
  • SC-16 Cotton Tail
  • SC-35 Gray Hare
  • SC-89 Cutie Pie Coral
  • SG-401 Black
  • SG-403 Red
  • SG-405 Green
  • SG-407 Yellow
  • SG-409 Bright Green
  • NT-CLR Clear Dipping Glaze or S-2101 Clear Brushing Glaze

Decorating Accessories

  • RB-144 Soft Fan
  • RB-110 Liner
  • RB-106 Script Liner

Miscellaneous Accessories

  • Water
  • Sponge
  • Pencil
Top