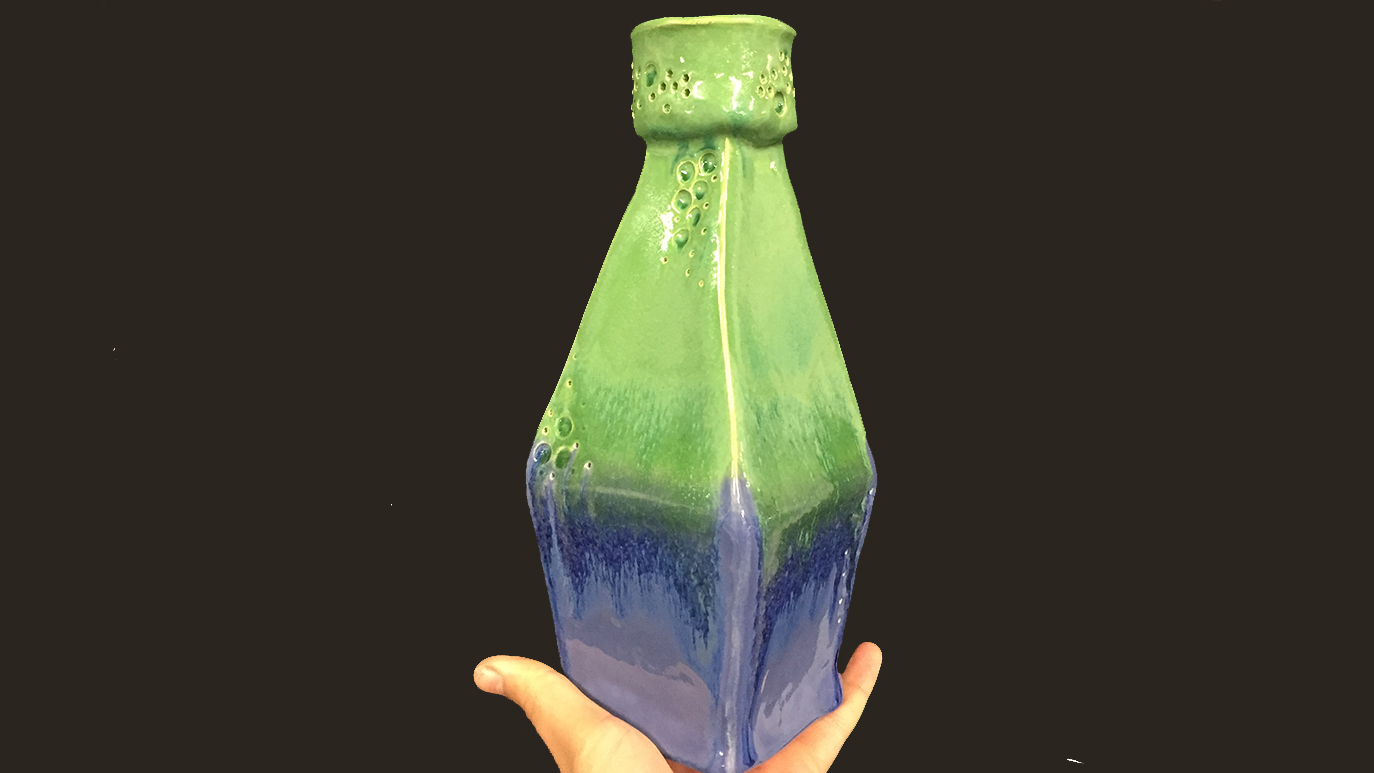
Find a simple slab vase template online, or experiment with creating paper templates by folding paper “accordion style” and cutting, like making a paper doll. Unfold and join with tape to check results.
Create a paper template and cut it from a compressed ¼” slab. Assemble the form by slipping and scoring along beveled edges. Weld seams.
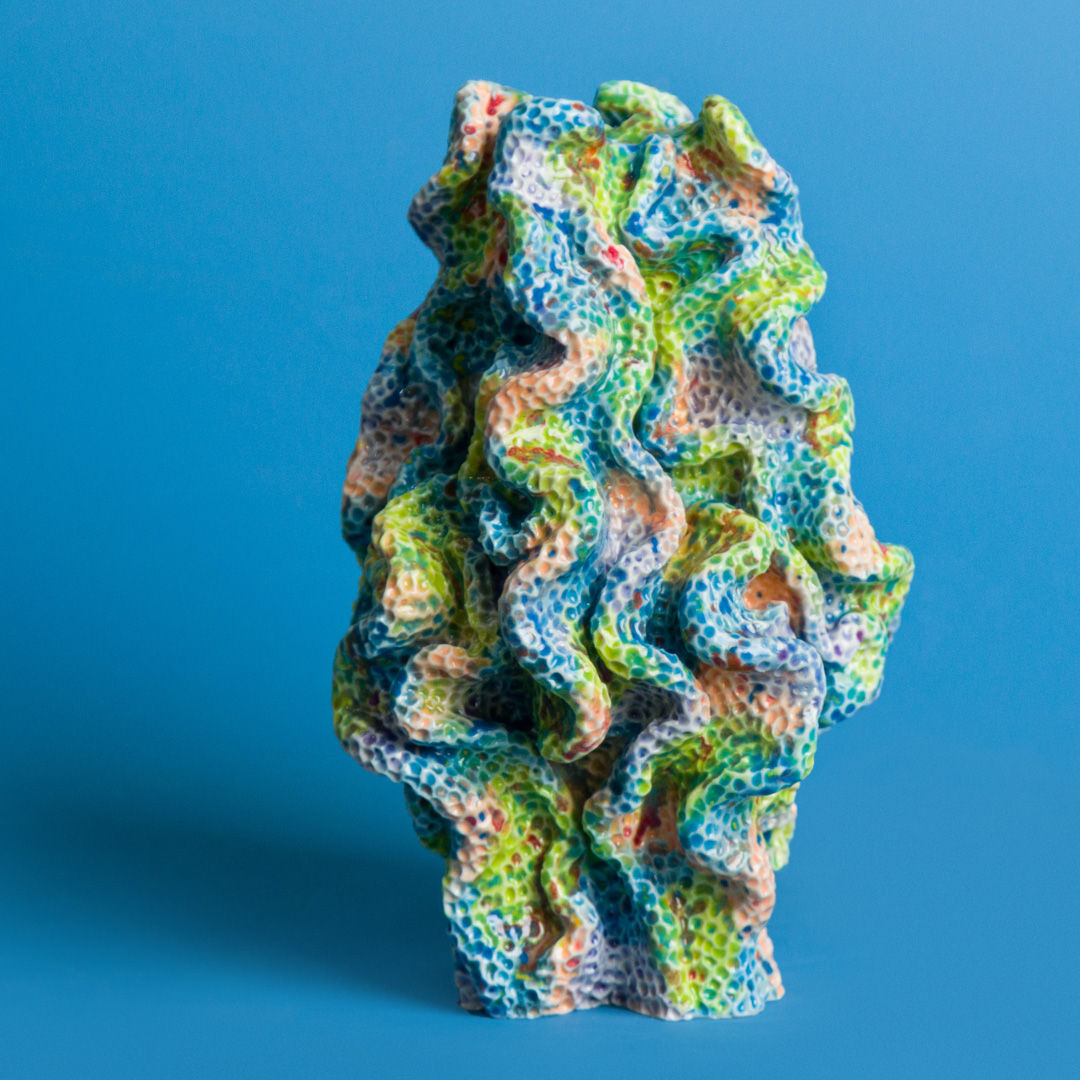
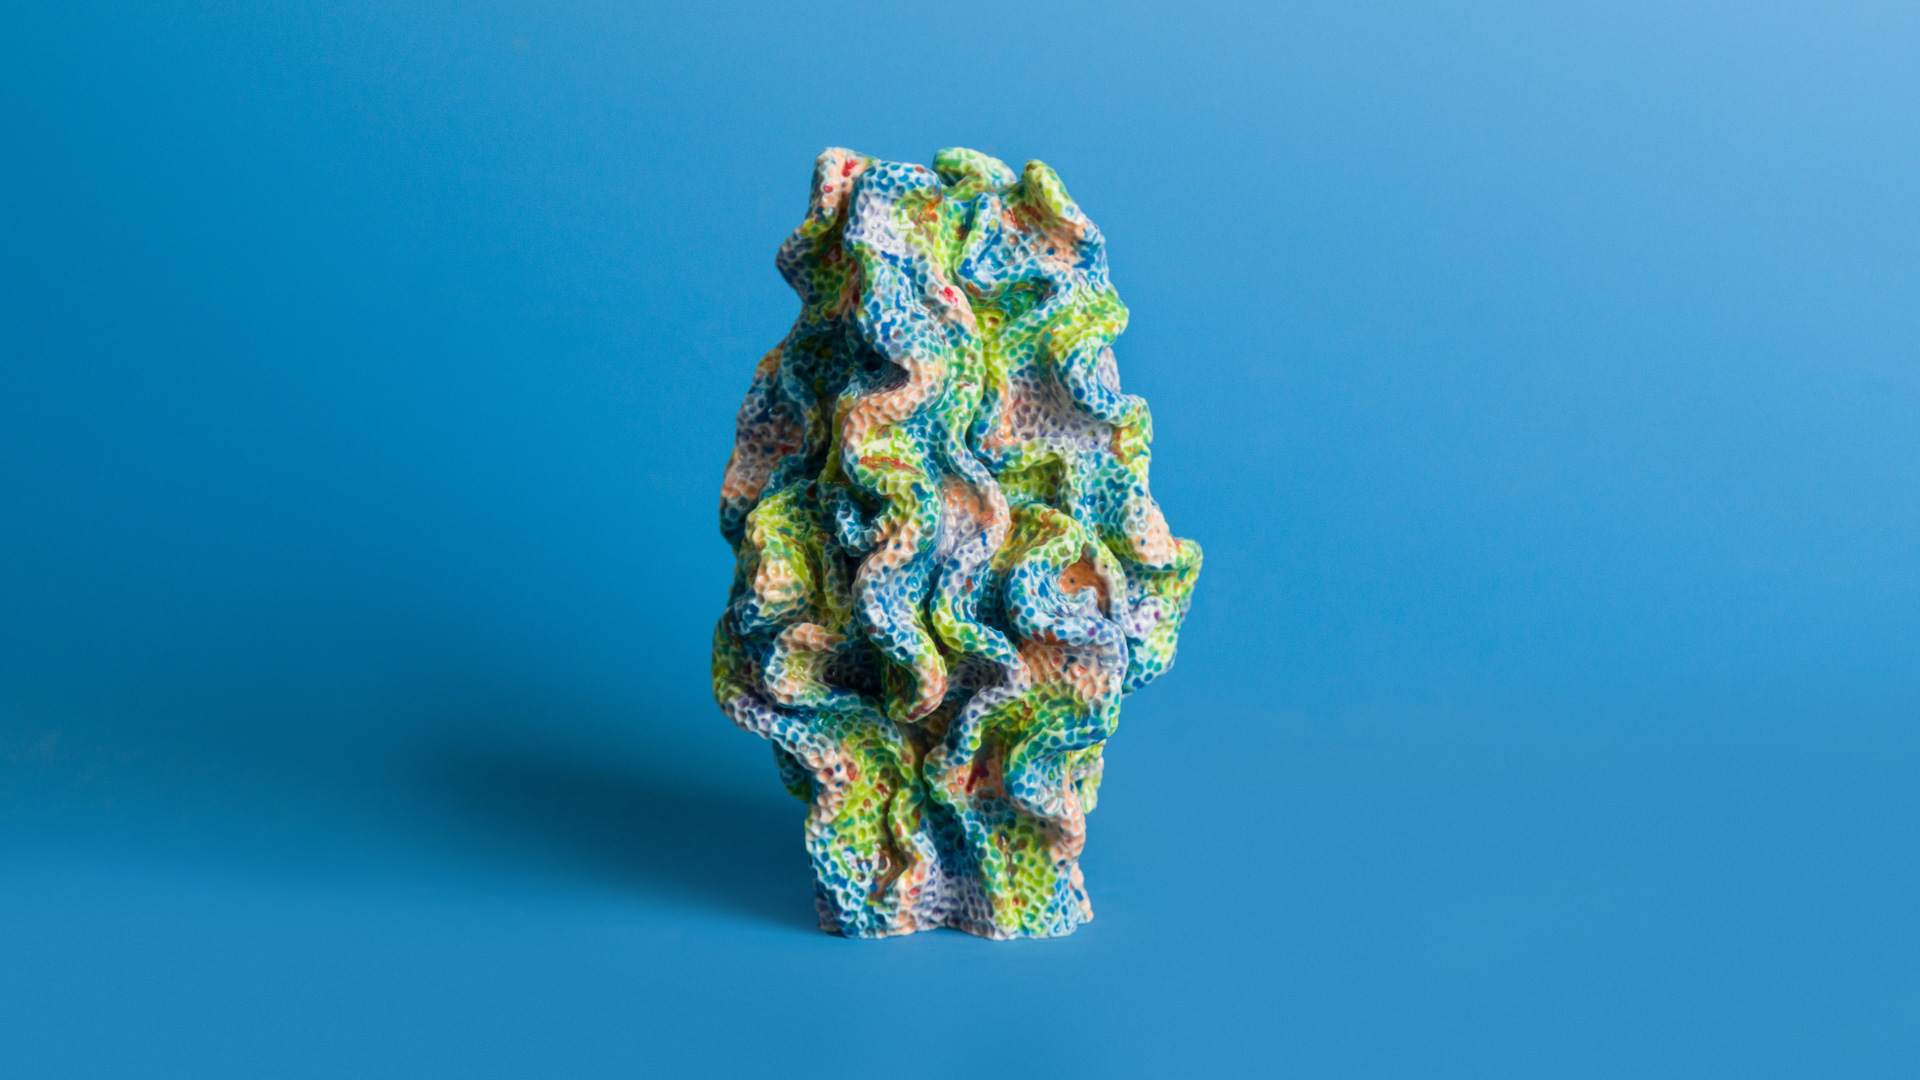
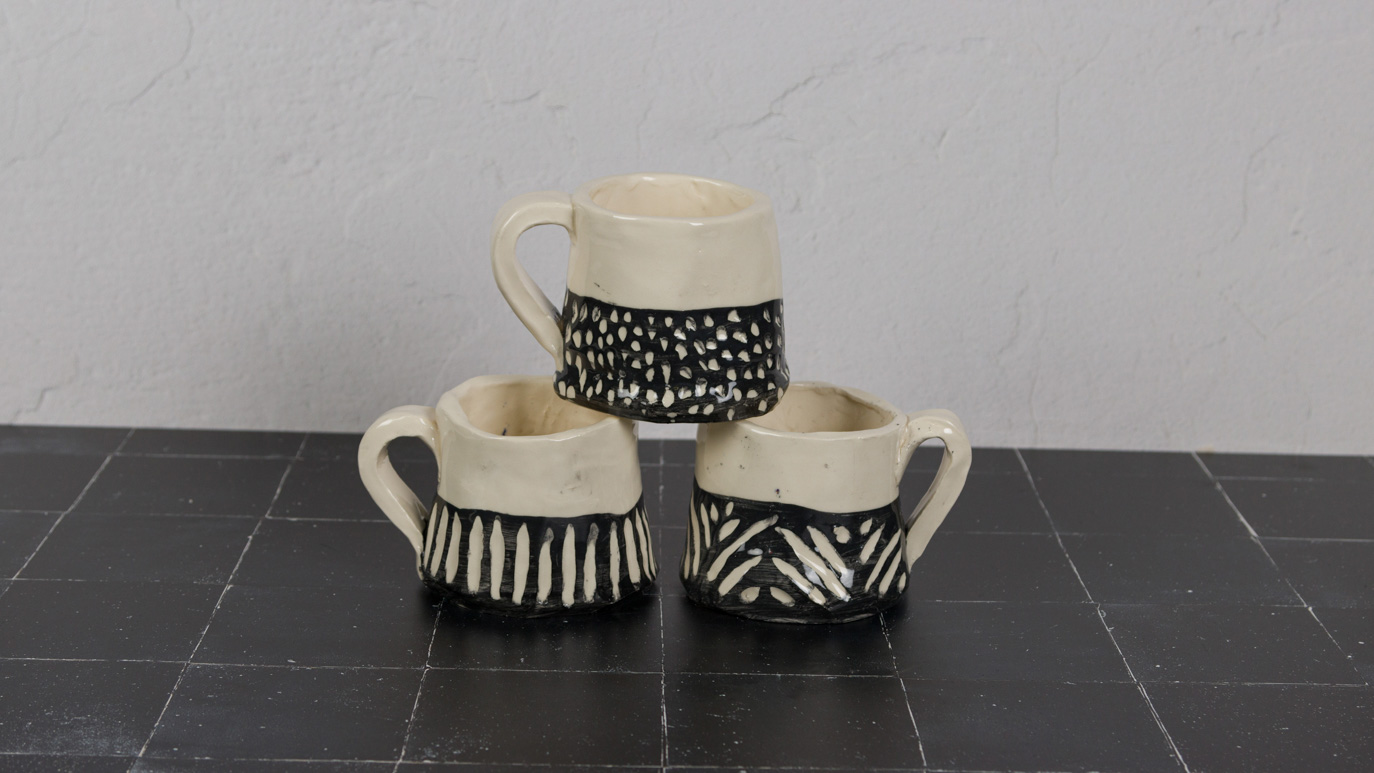
With a damp sponge, gently push the seams outward. Pinch and manipulate the protruding seams into undulating waves.
Roll coils and pinch them against the table surface to create flat edges. Score along flat edges and attach. Weld seams.
Set the piece on top of a slab to mark the floor. Cut the floor shape and attach it using the slip and score method. Compress the underside with a rib to prevent cracking and weld the seam upwards.
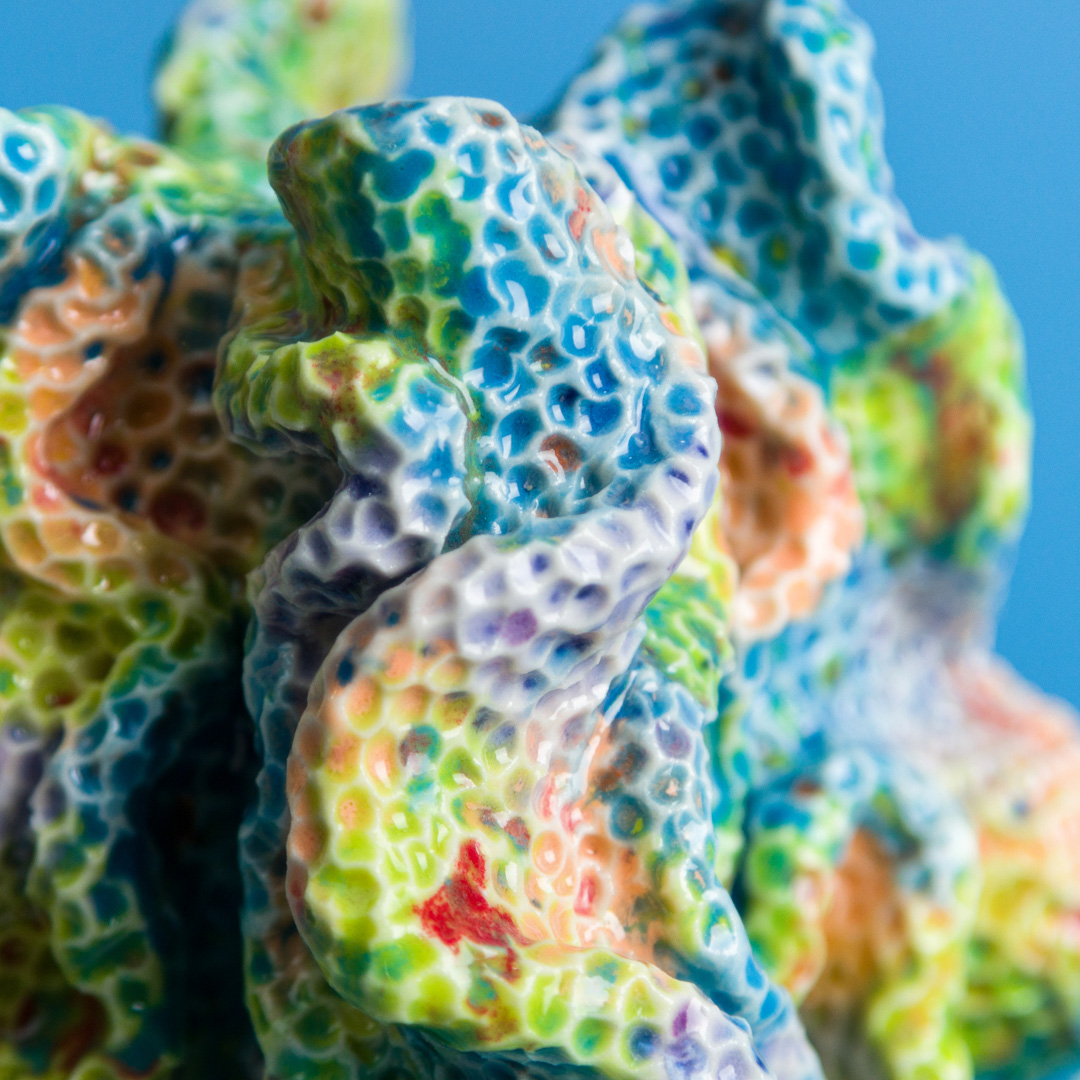
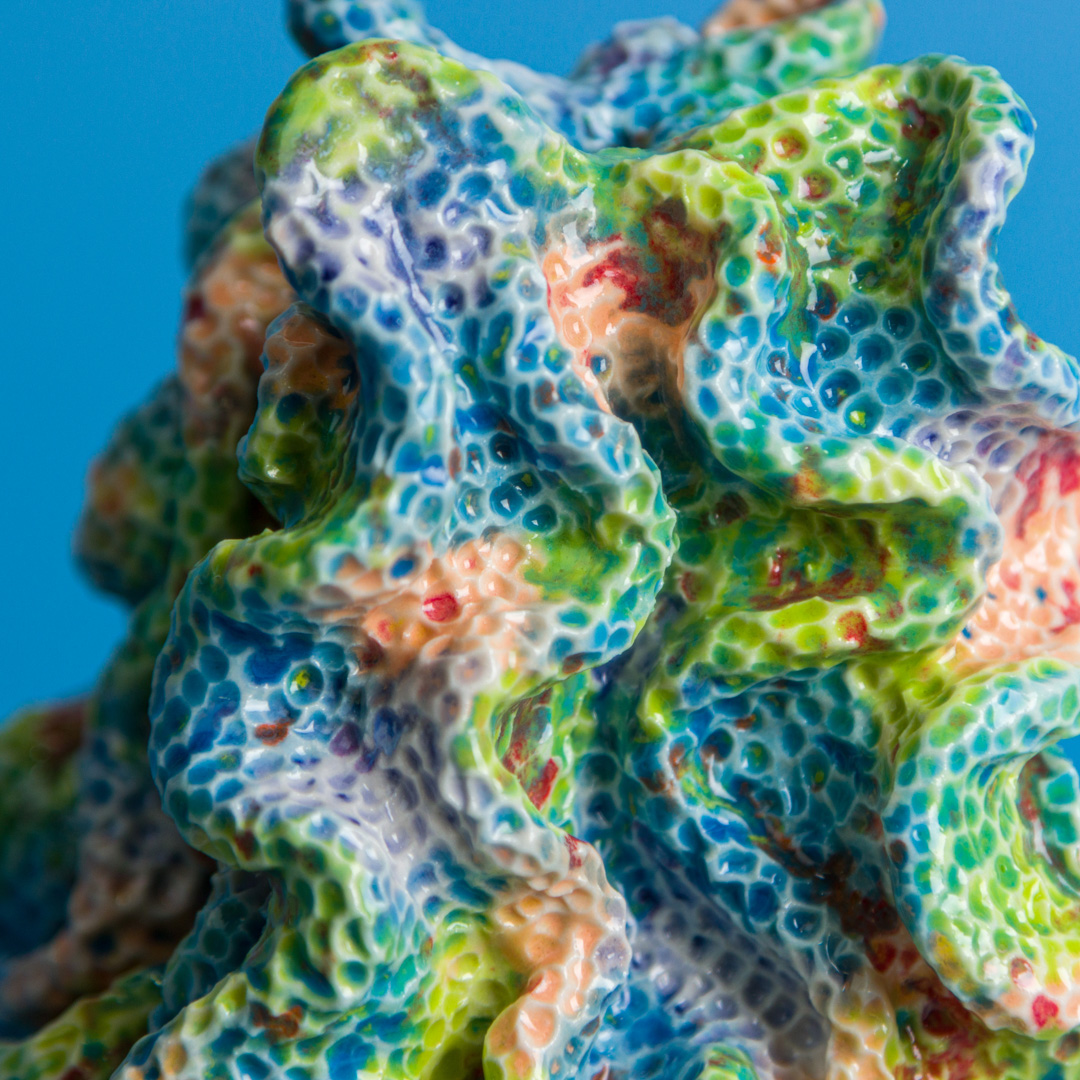
Smooth and compress the surface. In crevasses where a damp sponge won’t fit, use a brush. Stipple a dimpled texture into the clay using the back of a brush. When covering a large surface area, it may be more comfortable to tape sponges to the handle for an easier grip.
Allow to dry thoroughly and fire to cone 04.
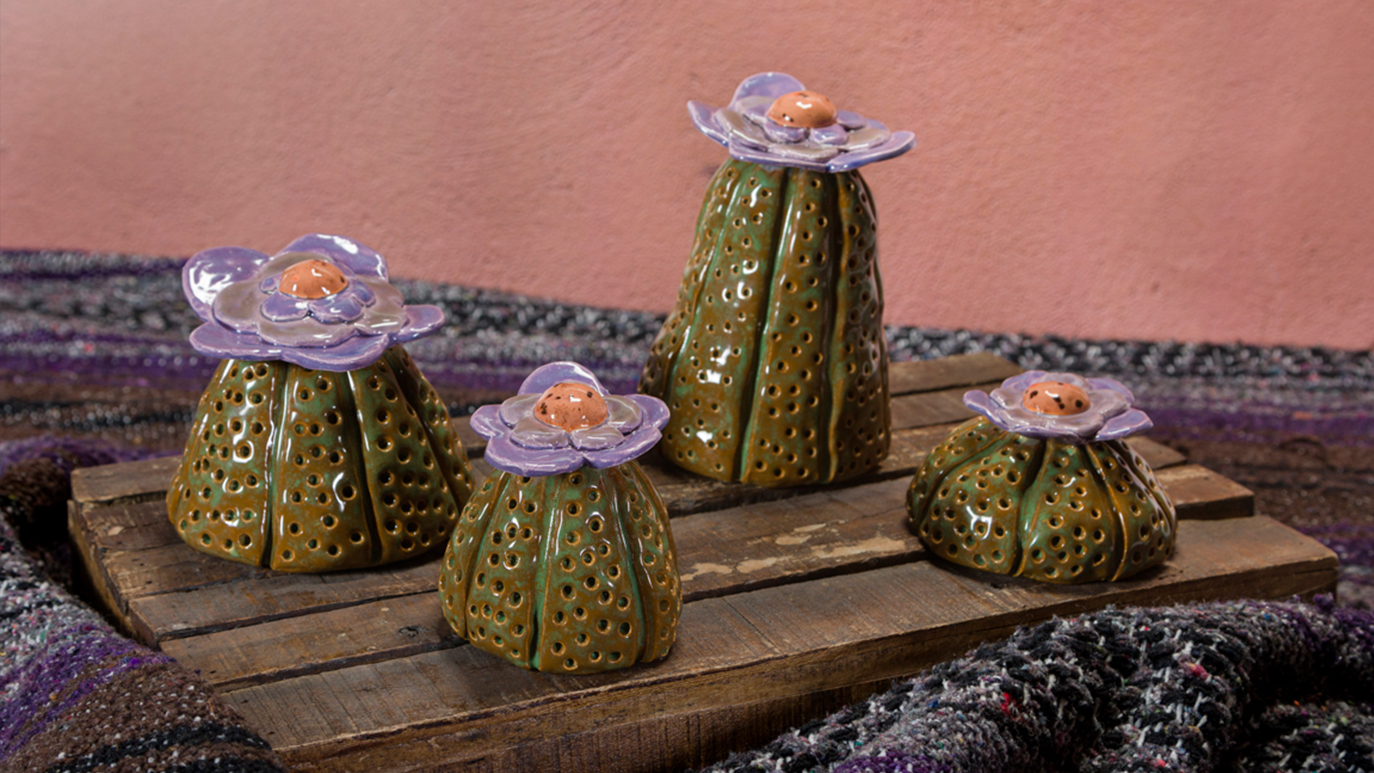
Using CG1003 Peach Party, CG1006 Purple Reign, CG1007 Blueberry Bubblegum and CG1009 Cherry Limeade, loosely apply them in patches until the surface is covered, allowing the patches to overlap.