Using a flat surface, mold this into a longer rectangular shape (this will be the shoulders of your robot
Create an additional small rectangular pinch pot that is about ½ of the width of the first but slightly taller
Roll a small coil, about 3 inches long and the thickness of a pencil and one half
Add a ribbed texture to the coil by drawing lines in the clay with your pencil tip
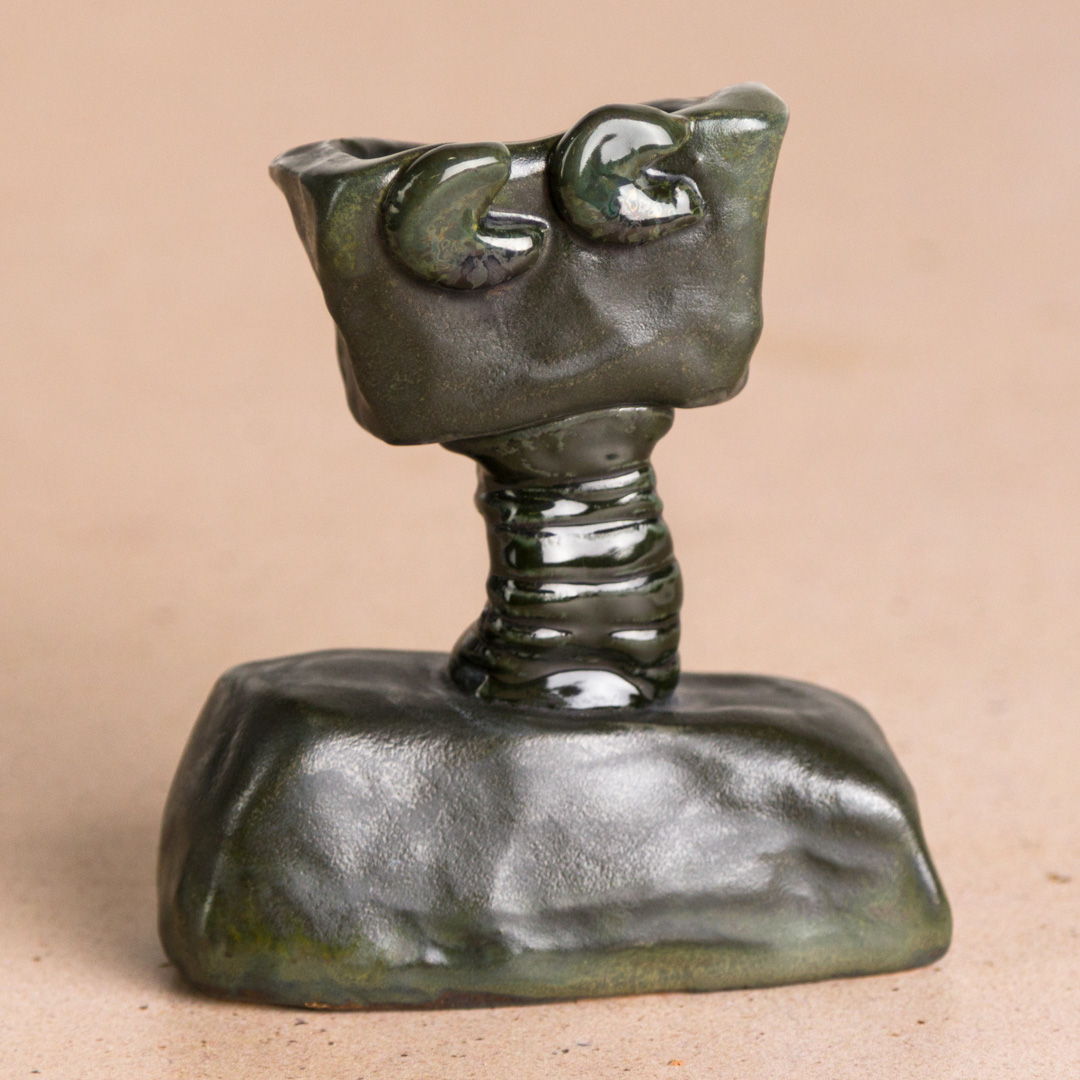
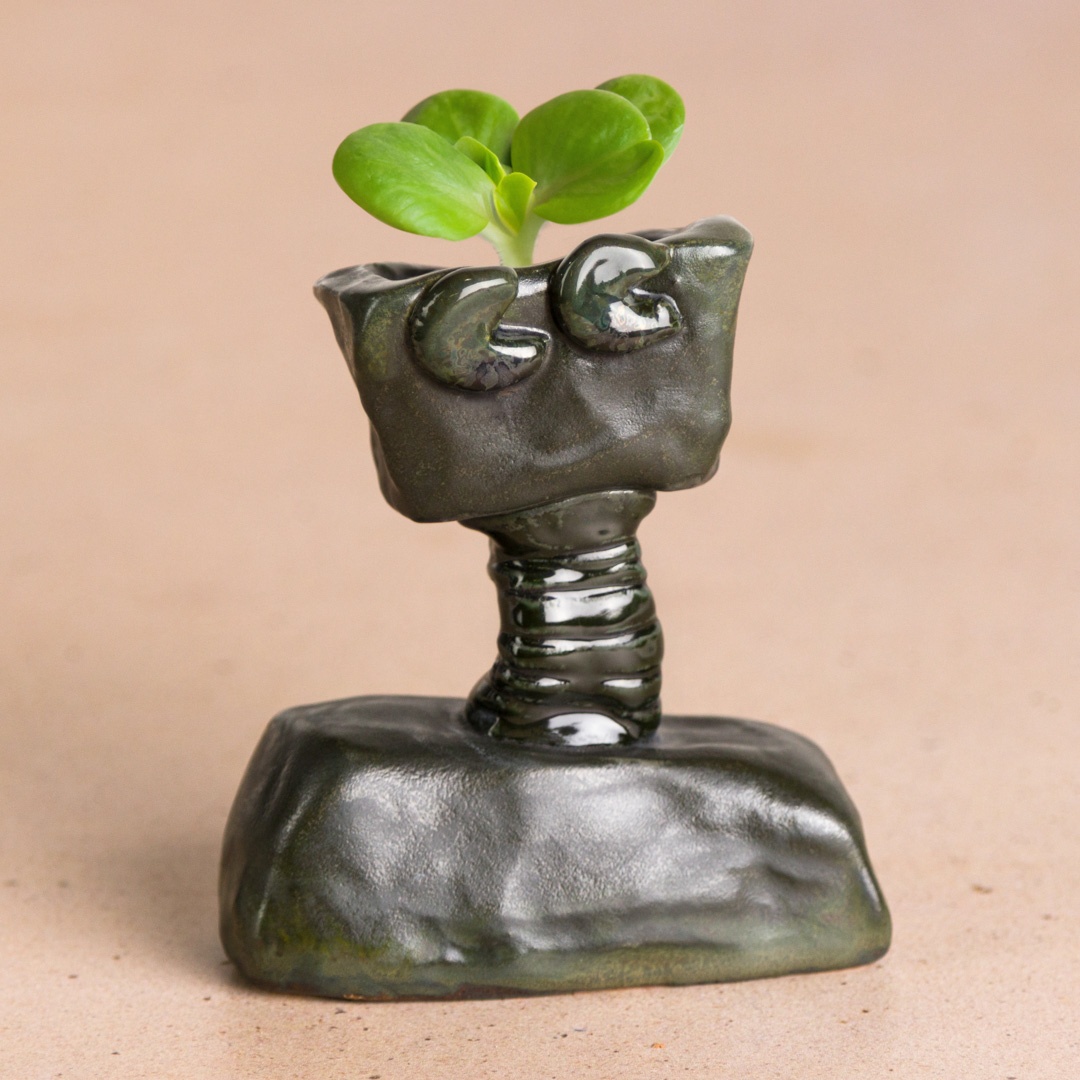
Connect the two pots together using the coil as the neck, the longer pot rim down as the shoulders and the smaller pot rim up as the head. Slip and score to connect these pieces
Flatten two small pieces of clay and cut your desired shapes for the eyes and attach them to the face by slipping and scoring
Smooth out your connections with your fingers and water
Let your pot dry slowly
Once it is completely dry, bisque fire your pot to cone 04
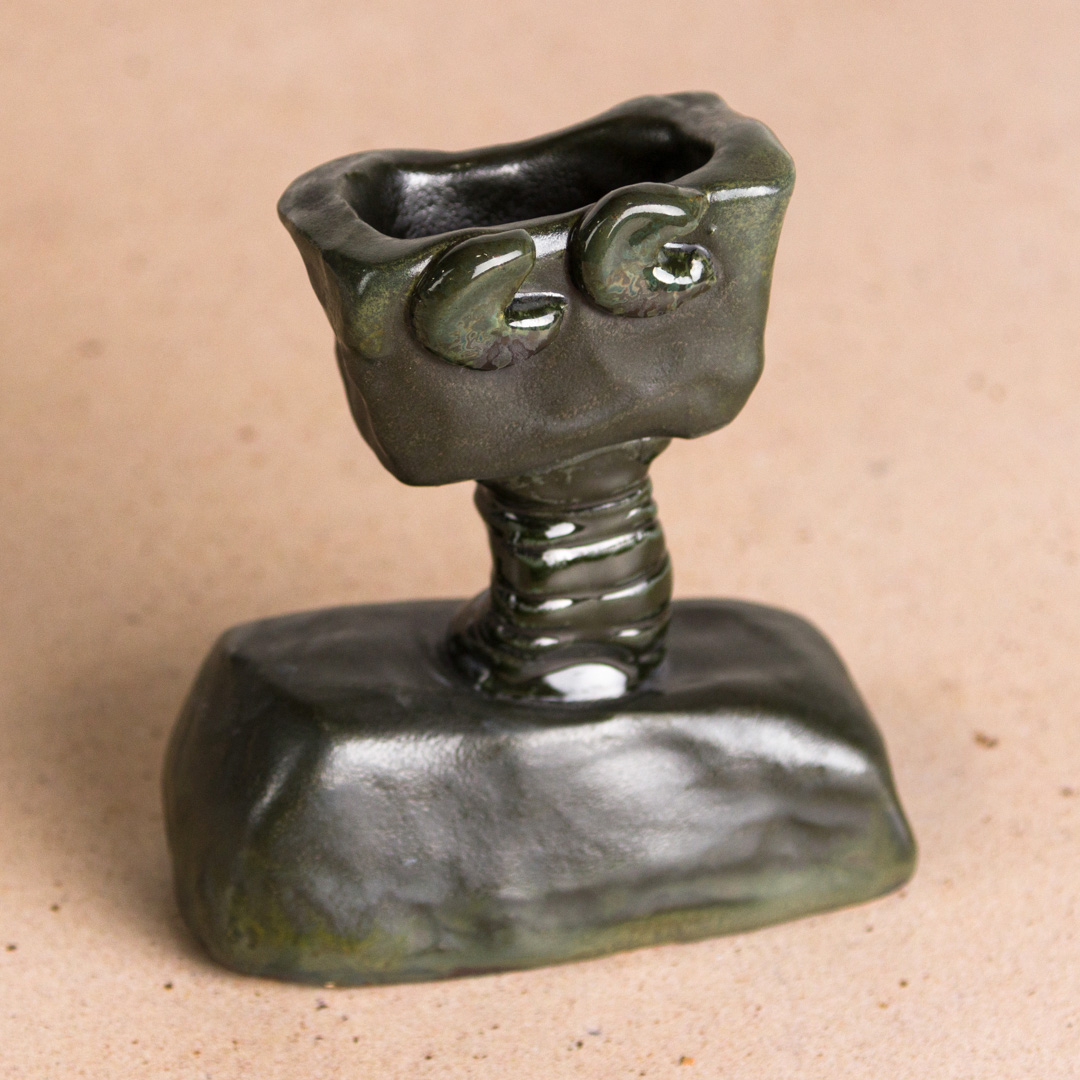
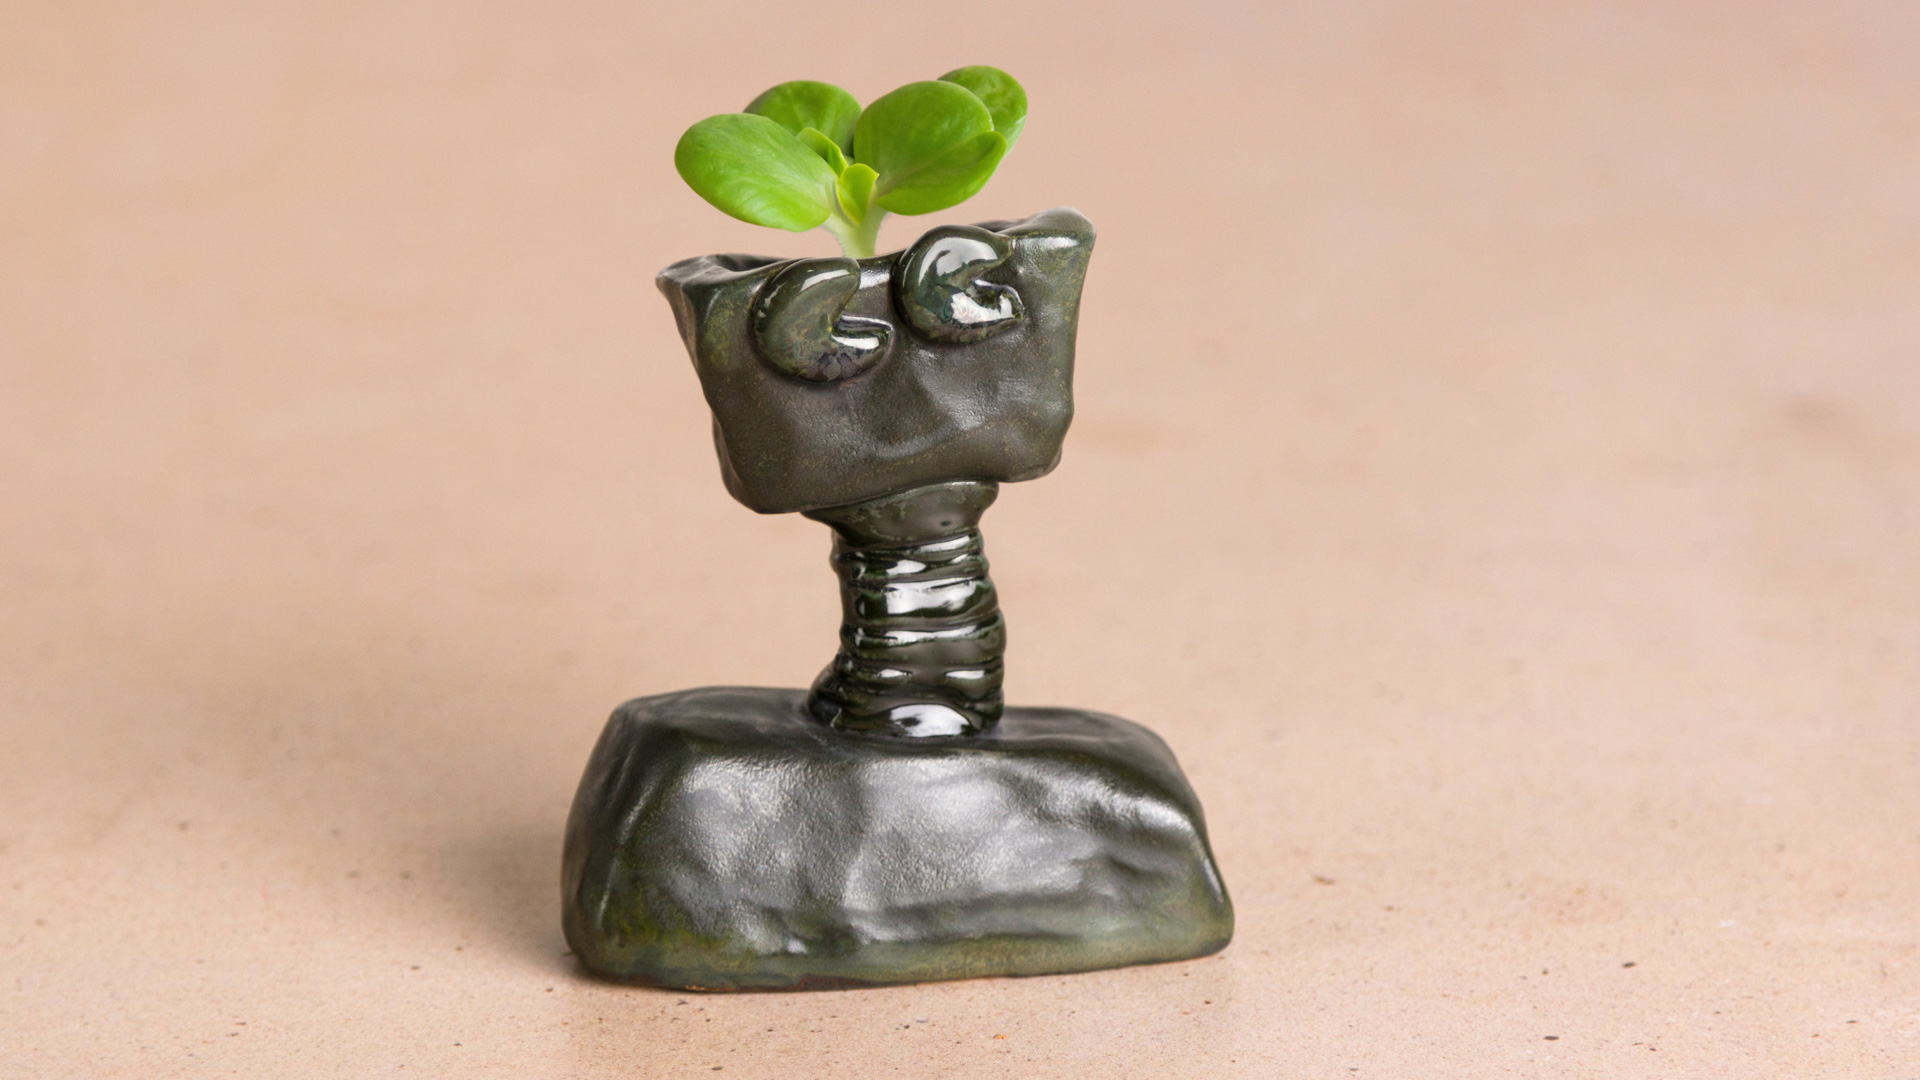
Coat your pot with 3 coats of EL119 Burnished Steel leaving the neck and eyes blank
NOTE: Always allow your glaze to dry completely in between coats
Using a detail brush glaze the eyes and neck with three coats of EL120 Black Ice