Preserve and enhance the surface of your work with Mayco and Duncan’s Dipping Clear Glazes.
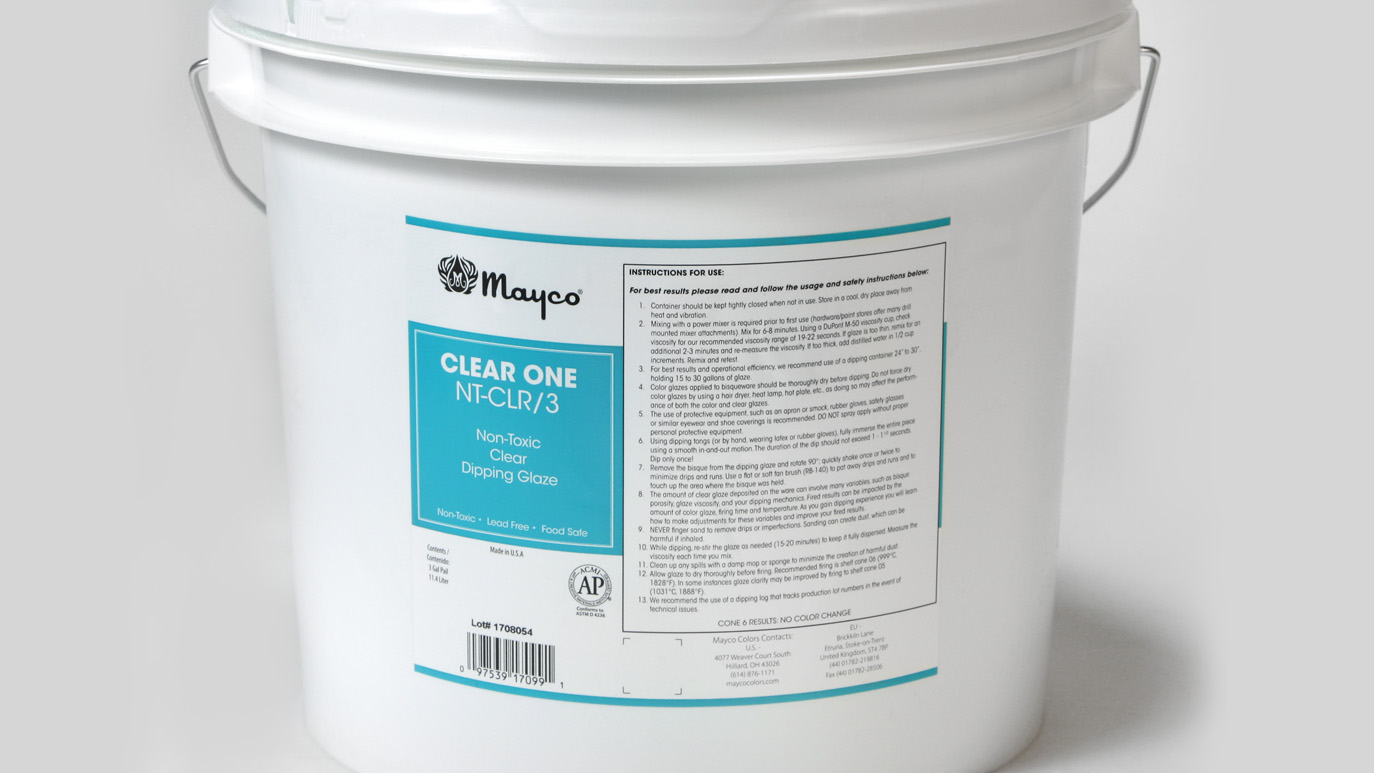
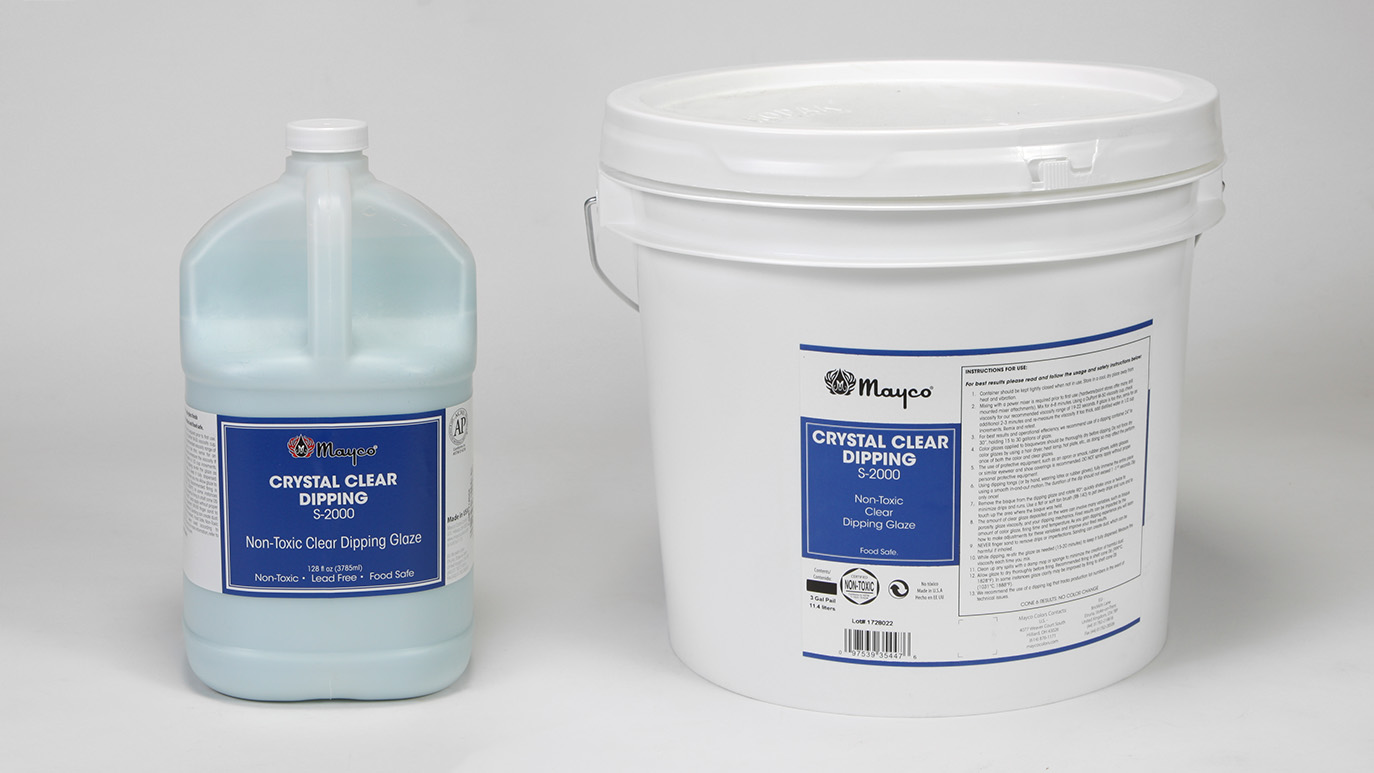
Functionally, clear glaze forms an impervious barrier that protects against liquids, dirt, and abrasion. Aesthetically, our clear glazes provide a gloss finish over top of your colored glaze decoration. Mayco offers three clear dipping glazes: NT-CLR, S-2000, and Duncan PBDIP. Dipping glazes differ from brushing versions as they contain fewer organic additives, making the dipping glazes less viscous than brushing formulas. Dipping glazes allow for quick and efficient glazing on large pieces or a large number of pieces. The amount of glaze deposited on bisque is primarily a function of glaze viscosity and the amount of time the bisque is left in the glaze – careful attention to these two details are critical to obtaining satisfactory results.

NT-CLR balances the production needs of high volume ceramic studios with superior fired performance. NT-CLR dries quickly but stays open long enough to allow for drips and runs to be smoothed away with a fan brush. Higher levels of suspension agents slow down the glaze’s tendency to settle, which means you’ll need to remix less frequently. A lower coefficient of expansion (COE) improves NT-CLR’s ability to withstand thermal shock and minimize crazing.
This glaze will fire to a smooth, crystal clear finish and has been lab tested to be compatible with leading color glaze lines. The bluish-green dye helps identify where glaze has been applied and guard against over application.

Ideal for large quantities of pieces. Dinnerware safe and luster compatible. S-2000 offers the same clarity as NT-CLR but contains fewer additives and is therefore thinner than NTCLR. This glaze has a higher coefficient of expansion (higher thermal expansion) and is more tolerant of high expansion bodies. S-2000 contains a light-blue dye to help you see where the glaze was applied. The fundamental performance difference between our two clear glazes is in their rates of expansion: NT-CLR has a lower rate of expansion, S-2000 a higher rate. As you gain experience with specific clays or bisque bodies and monitor firing results, you’ll understand which clear glaze is right for you.

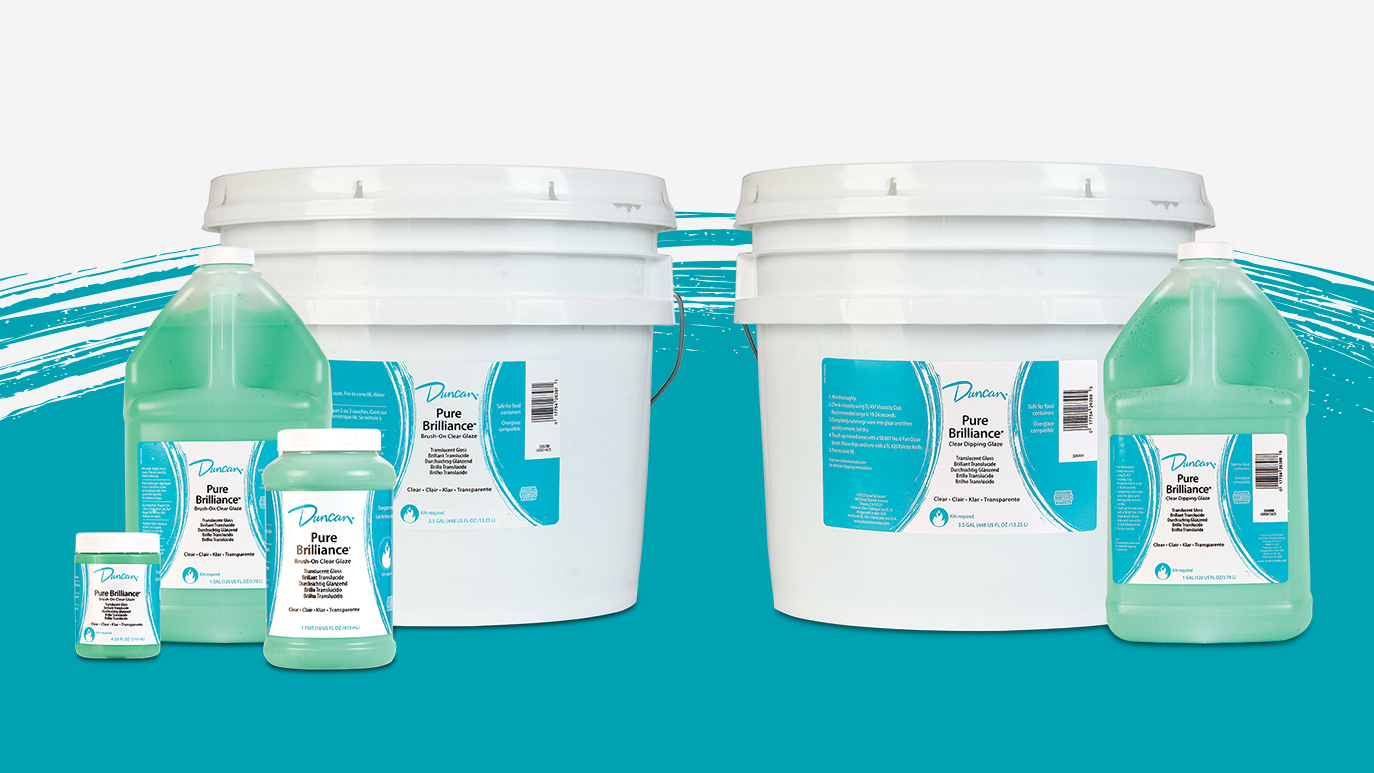
Duncan Pure Brilliance® Clear Glaze is a high-performance gloss clear glaze. Featuring a fast and stable dry time, this craze-resistant clear glaze enhances underglaze colors with brilliant shine and superior protection. The green color of Pure Brilliance Clear Glaze makes it easy for users to see where the glaze has been applied. Pure Brilliance Clear Glazes work beautifully over a variety of underglazes including Stroke & Coats®, Foundations®, Fundamentals® Underglazes, and EZ Stroke™. Pure Brilliance Clear Glazes are overglaze compatible. Pure Brilliance Clear Glazes are available in brush-on (PB001) and dipping (PBDIP) formulas.
Clear glaze forms an impervious barrier that protects against liquids, dirt and abrasion.
Container should be kept tightly closed when not in use. Store in a cool, dry place away from heat and vibration. Mixing with a power mixer is required prior to first use (hardware/paint stores offer many drill mounted mixer attachments). Mix for 6-8 minutes. Using a DuPont M-50 viscosity cup or NT-CLR, check viscosity for our recommended viscosity range of 19-22 seconds. If glaze is too thin, remix for an additional 2-3 minutes and re-measure the viscosity. If too thick, add distilled water in 1/2 cup increments. Remix and retest. For best dipping results and operational efficiency use of a dipping container 24” to 30” deep, holding 15 to 30 gallons of glaze.
Pure Brilliance Dipping Glaze:
Initially mix with electric mixer for no more than 2 minutes. A stainless steel wire whisk can be used to stir glaze periodically. Submerge a TL 497 Viscosity Cup into tank and fill with glaze. As you lift cup from glaze, begin timing. Stop timing when stream of glaze begins to break. A range of 19-24 seconds is normal. Add small amounts of water as needed (4 oz. at a time). Hold ware with hands or dipping tongs. If using hands, wear protective gloves. As you remove ware shake away any drips or runs. Do not finger sand the piece as this can cause airborne dust. If necessary on larger piece, dip unglazed portion, slightly overlapping glazed area for full coverage. Let dry. Use a Fan Glaze Brush to touch up any missed areas after ware dries. Use a Palette Knife to shave off drips or runs. Set ware on clean, sharp stilts in kiln. Fire to shelf cone 06.


All Mayco and Duncan Dipping Clear glazes are AP Non-Toxic, Food Safe and Dinnerware Safe, when used according to the manufacturer’s directions.
Clear glazes are glass coatings used to completely seal the ware (decorated or undecorated, making the ware impervious to liquids. They are also used to boost the brilliance of the underlying color.
Choosing a dipping or brushing version of a clear glaze is dependent on application preference, quantity of glazing and time. Mayco offers pre-made low fire clear glaze in both dipping and brushing formulas. Brushing clear glazes differ from dipping versions in that they contain organic additives, which make the brushing glazes thicker (viscous) than dipping formulas. These additives are meant to improve the flow of glaze from the brush and assist with the even-ness of application, enhancing the fired surface finish. The amount of glaze deposited on the ware is primarily a function of glaze viscosity and the number of applications. Typically, 2 applications are required, allowing dry time between coats. Dipping clear glazes contain fewer organic additives, making dipping glazes less viscous than their brushing counterpart. The amount of glaze deposited on the ware is a function of glaze viscosity and the amount of time left in the glaze. Often dipping glazes are preferred in a studio or production environment where a large quantity of ware is processed.
Glaze and clay/bisque bodies are both ceramic materials. During the firing process they expand and then contract together; the rate of expansion/contraction can be measured and mathematically stated as a coefficient of expansion.
If the two materials are not compatible – if they expand or contract at widely varying rates – the glaze may crack or chip off the body (please understand that incompatible COE’s are only one cause for glazes to chip or crack). Mayco strives to produce glazes that are as tolerant of as many major sources of earthenware and stoneware bodies as is feasible. We stock over 20 types of clay bodies for testing purposes and glaze and fire samples from every shipment of bisque. But there are hundreds of clay bodies in use around the world, with hundreds of color glaze and clear glaze combinations being used on these bodies.
Oolites are little pebbles of calcium carbonate. They form naturally although the exact reasons for their formation are unclear. With respect to clear glaze their occurrence is usually during the late summer months – the combination of the warm temperatures and vibration the glaze may experience during transit may factors. These materials can be strained out of the glaze using a fine mesh sieve.
If the application of glaze is too heavy the C-300 will fire to a hazy/milky finish.
No, it is not recommended.
Yes, it is non-toxic and dinnerware safe.
It was formulated for a cone 06/05 firing. Mayco recommends the Stoneware line of clear glazes for higher temperatures.
Yes, and fires to a glossy finish.
This result may be due to heavy application glaze – color and clear – or insufficient firing temperature. Adjustments to your dipping process may include lowering the viscosity of the glaze itself or increasing the speed of your dipping mechanics.
Adjustments to the firing process may include slowing down the firing rate, added a 10-15 minute hold at the end of the firing cycle (computer controlled kilns), or firing hotter – to cone 05. Non-toxic glazes will not move or run as much as leaded glazes; our internal testing of major brands of color and clear glazes on Chinese, Italian and US domestic bisque show that higher temperatures and fewer layers of glaze (color and clear) produce better fired results. You may want to test our findings to see if they help you achieve better fired results.
Re-firing the piece may be possible to help clear up the finish. Always use pyrometric cones, such as Orton’s self-supporting witness cones, to make sure your kiln is firing to the proper temperature. Place cones on the top, middle and bottom shelves to test for even temperatures in your kiln. If you normally use cones on the middle shelf only you should do the three-shelf test periodically t make sure you are getting even heating in the kiln.
Holding the viscosity cup in one hand and a stopwatch in the other submerge the cup into the glaze. Start the stopwatch the moment the bottom of the cup clears the surface of the glaze. When the glaze stream breaks, stop the clock. Cup should be empty or nearly empty.
Dip two-thirds of the ware into the glaze. Dip the remaining one-third up to the previous dip line and avoid overlapping as much as possible. Moisten a soft fan brush (RB-140) in the dipping glaze and gently pat the seam line. Be careful too to apply too much pressure with the brush as you may smear the underlying colors and design.
Use latex or rubber gloves to cover your hands (primarily as a precaution against skin irritation). Dip 98% of the piece into the dipping glaze and shake vigorously 2-3 times. Moisten a soft fan brush (RB-140) in the dipping glaze and pat glaze onto the unglazed area (where you held the piece).
Pure Brilliance Dipping Glaze Formula: