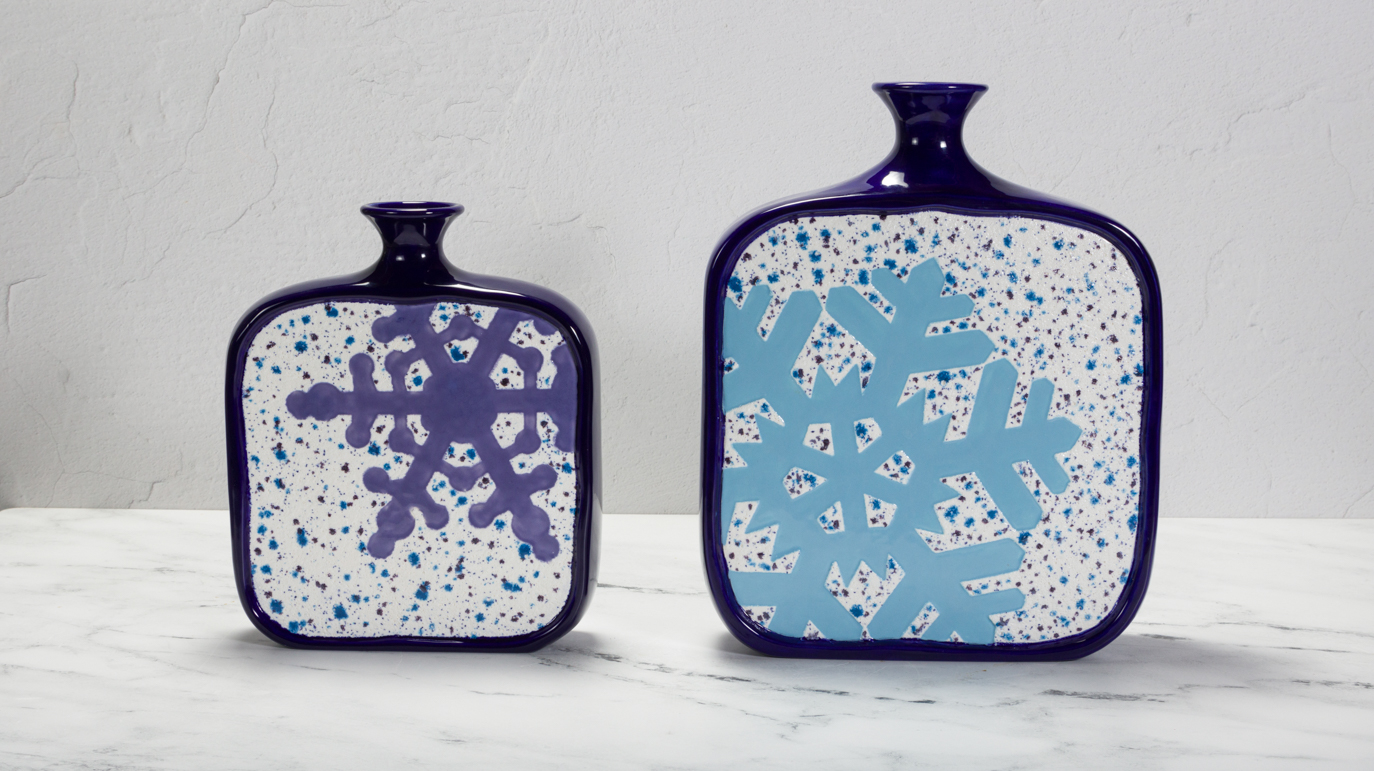
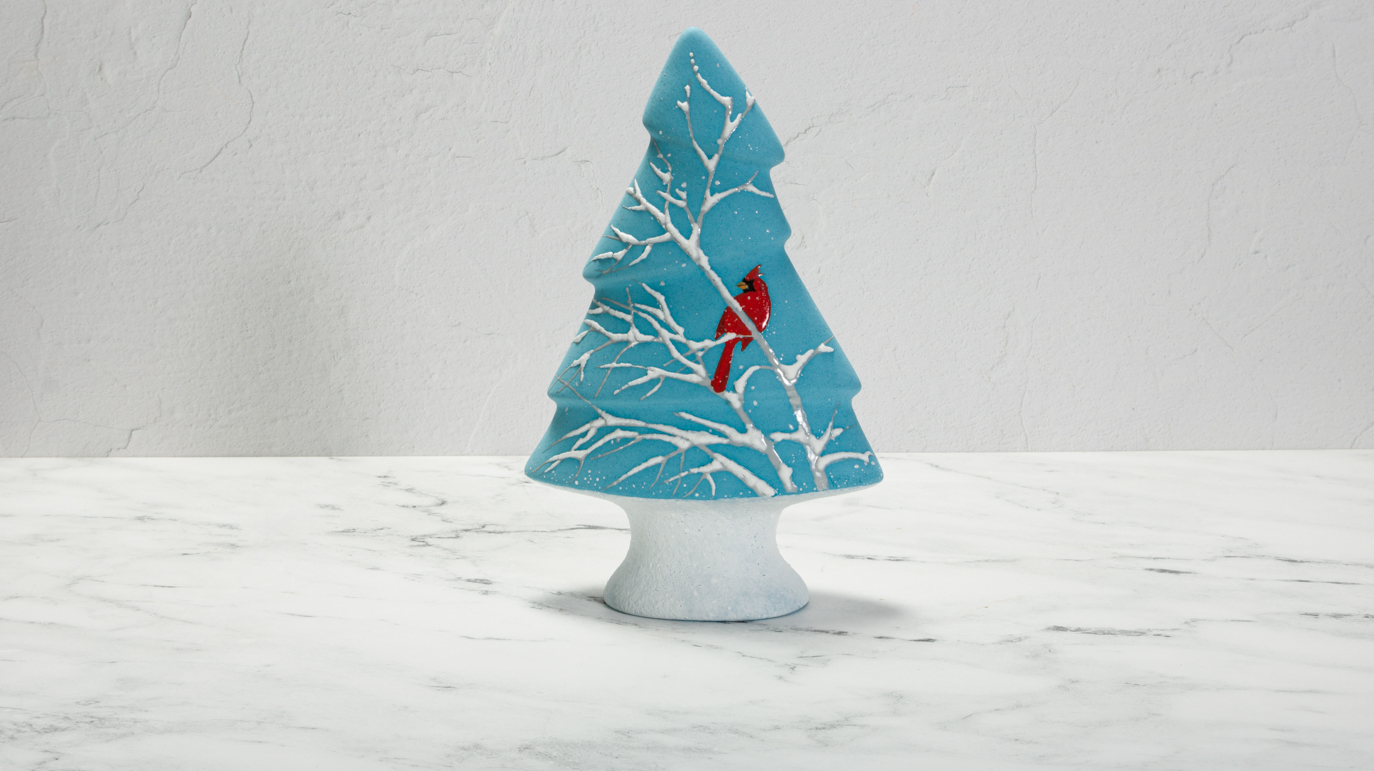
Medium Snowflake Bottle Vase

Designer: William Pulse

Share

Instructions

  1. Clean the greenware seams using a Clean-up Tool. Further sand the seam lines and neck opening with the Green Grit Cloth. Using an old pen, incise the edge of the inset panel to the rim of the vase panel. This will aid in painting after firing. Use a dampened Synthetic Sponge to wipe down the vase to remove any dust. Check the inside for any debris as well.
  2. Fire the piece to Shelf Cone 04.
  3. Wipe down the ware with a moistened Synthetic Sponge. Do not over saturate the ware with water. The pattern transfer and tape adhesion will be impaired with a damp surface.
  4. Using a pencil to trace the pattern onto the ware using a pencil and AC-230 Clay Carbon.
  5. Using various sizes of Tapes (MC-001, MC-002) to complete the pattern of the snowflake. Start with the main six points of the snowflake when masking off the pattern. Use the scissors to cut any various angles needed to complete the pattern. Tape can overlap onto other areas as long as the pattern isn’t compromised. If the pattern has any round circles to it, use the various sizes of the ½” or ¾” Round Stickers to complete the snowflake. Make sure all edges are securely down on the tape and stickers.
  6. Using CB-604 Soft Fan to apply 1 thin coat of S-2101 over the inset panel of the vase over the mask taped areas. Applying the one coat of clear glaze will inhibit crawling of the snowfall during firing. Try not to get any color onto the bottle trim.
  7. Apply 1 coats of SG-302 Snowfall using CB-602 Soft Fan to the inset panel over the clear glaze. Sponge on two additional coats of Snowfall using a Synthetic Sponge.
  8. Shake and Stir CG-2701 Peacock Eyes. Pour out some glaze onto to a tile/pallet and thin with water slightly. Using CB-602 Soft Fan to apply one coat with crystals to the inset panel over the Snowfall. Watch the placement of the crystals to evenly distribute them over the Snowfall. Use the brush to manipulate the crystals off the taped areas as well. Let the color dry for a short time until the glaze on the taped areas has gone matte. Remove the tape and stickers from the pattern before color has completely dried. Chipping off the glaze can occur if the glaze has dried too much. Note the removal of the tape and stickers to make sure all areas have them removed from the pattern. Use a clean-up tool to aid in removing the tape and stickers. Should any areas be lacking of crystals, use CB-404 Pointed Round to place crystals in the deficient areas.
  9. Use a damp sponge to remove any excess glaze that is on the trim and edge of the vase.
  10. Fire to Shelf Cone 05-06.
  11. Thin some FN-19 Dark Blue in a Plastic Cup to the consistency of melted ice cream. Pour the thinned glaze into the vase, while working quickly, rotate the piece to coat the inside of the vase. Pour out the excess color and invert the vase to dry. Wipe off any drips using the moistened Synthetic Sponge.
  12. Using CB-106 Script Liner, CB-404 Pointed Round and CB-604 Soft Fan to apply 3 good coats of FN-19 Dark Blue to the edges and trim of the bottle.
  13. Apply 3 coats of FN-34 Big Sky Blue to Snowflake using CB-106 Script Liner or CB-404 Pointed Round. SC-53 Purple Haze was substituted for the Big Sky Blue on the offset snowflake pattern as an option.
  14. Stilt and Fire the piece to Shelf Cone 05-06.

Supplies

Form

  • CD1391 Medium Bottle Vase (Medium)

Colors

  • FN-19 Dark Blue
  • FN-34 Big Sky Blue
  • CG-2701 Peacock Eyes
  • SG-302 Snowfall
  • S-2101 Crystal Clear Brushing
  • SC-53 Purple Haze (optional)

Decorating Accessories

  • CB-106 Script Liner
  • CB-404 Pointed Round
  • CB-602 Soft Fan
  • CB-604 Soft Fan
  • AC-230 Clay Carbon
  • MC-001 6mm (1/4”) Masking Tape
  • MC-002 12mm (1/2”)Masking Tap

Miscellaneous Accessories

  • Clean-up Tool
  • Green Grit Cloth
  • Sponge
  • Pallet or Tile
  • Pencil
  • Old Ink Pen
  • Scissors
  • ½” Round Stickers
  • ¾” Round Stickers
  • Plastic Cup
  • Patterns
Top