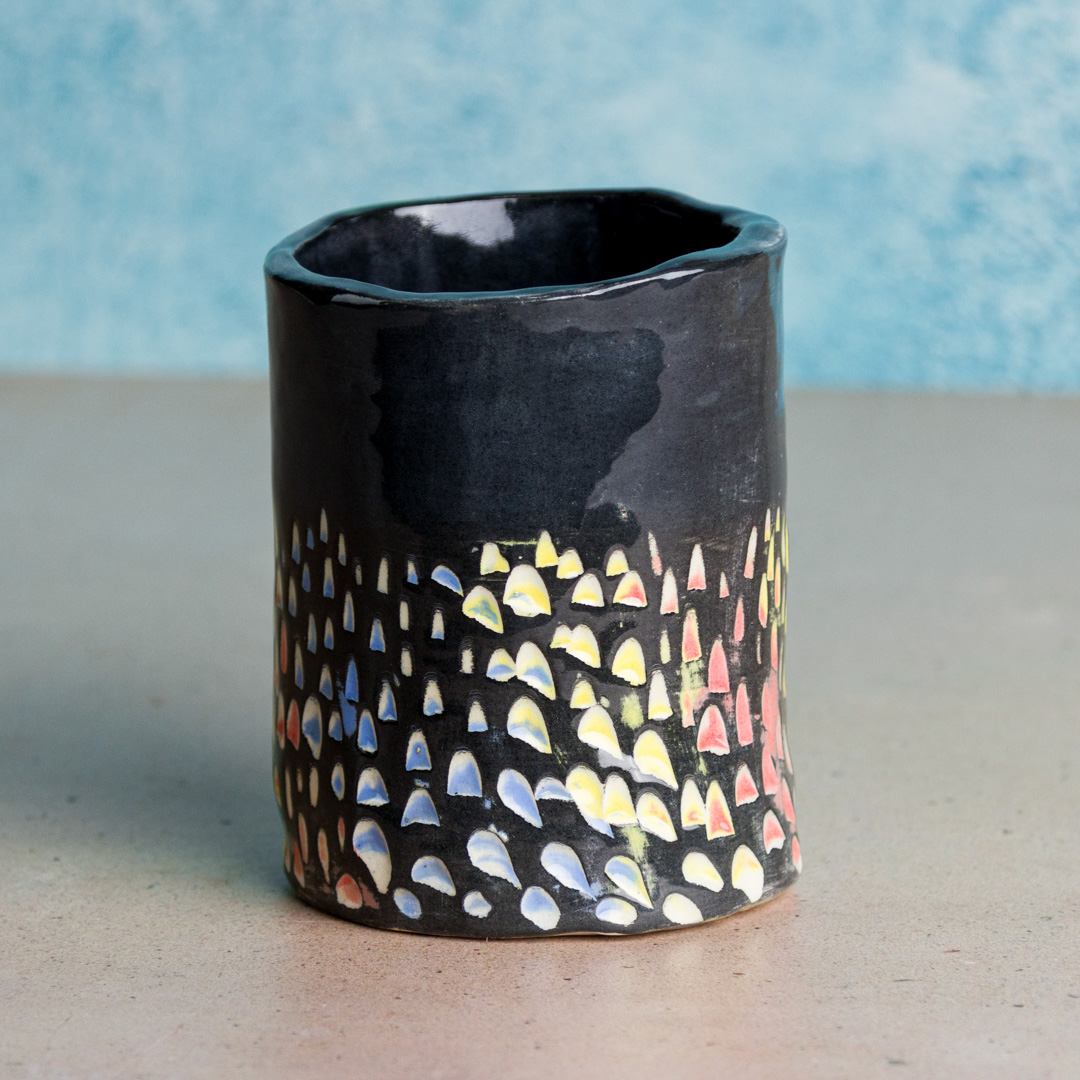
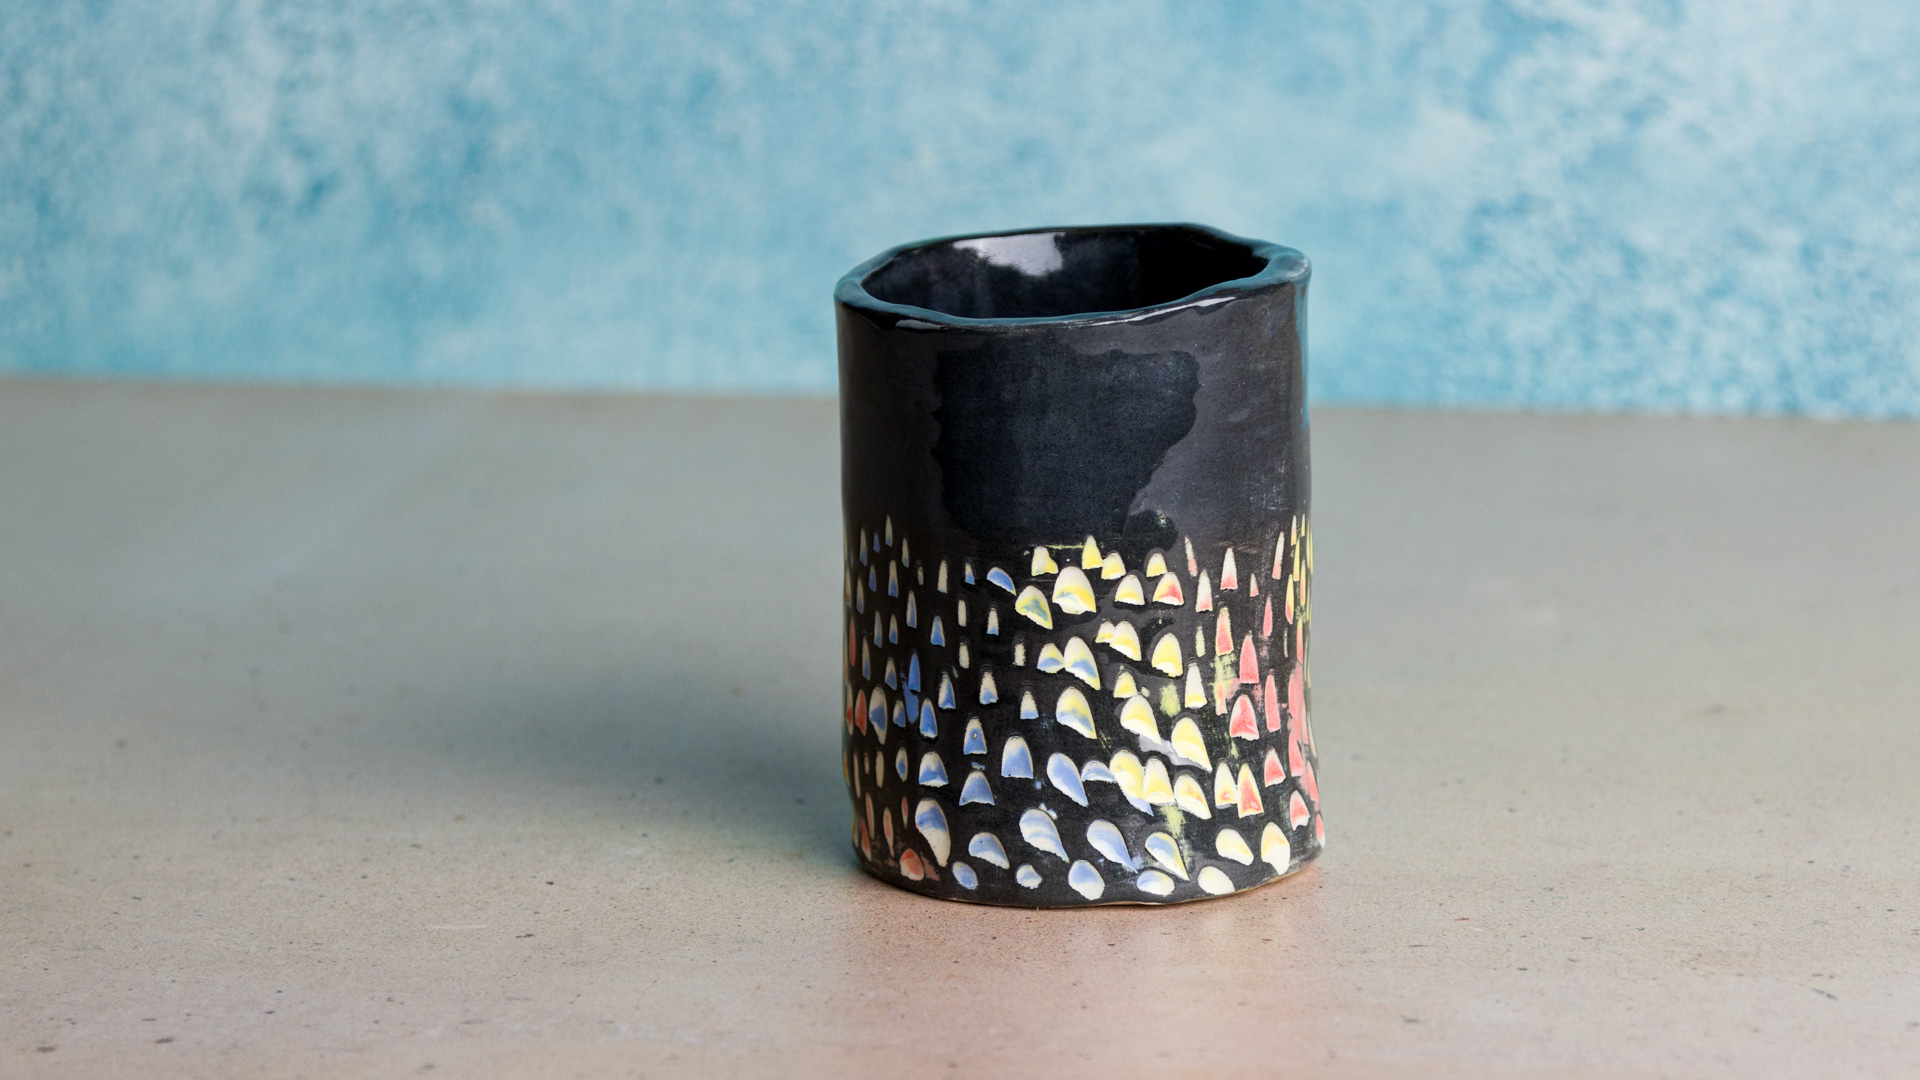
Underglaze Carved Tumblers

Designer: Kaitlyn Gilham

Share

Instructions

  1. Roll your clay out in a slab that is about 7 inches wide and ¾” thick
  2. Smooth your slab out with your rib
  3. Cover your cup with paper to keep clay from sticking to it 
  4. Wrap your clay slab around the outside of the covered cup to create a cylinder
  5. Cut the end of the slab so your clay overlaps only ¼”
  6. Attach ends together by smoothing them together with your finger, and use your rib to smooth it further
  7. Once cylinder is created remove the cup from your clay – you may need to twist to get it out
  8. Using your left over slab pieces (you may need to roll out a new piece) cut the base for your tumbler by placing your cylinder on top and tracing a circle
  9. Attach base by slipping and scoring pieces together
  10. Allow to dry until leather hard
  11. Apply 2 coats of Jet Black Underglaze (UG-50) to the bottom half of your mug
  12. Once underglaze is dry, carve your desired texture design using a loop tool
  13. Allow to dry fully
  14. Bisque fire to Cone 04
  15. Wipe your bisqueware with a damp sponge
  16. Apply a heavy coat of UG-46 Bright Yellow, UG-206 Fire Engine Red and UG-1 Kings Blue to the textured parts of your pot- you are trying to get the color to sit down into the texture
  17. Allow underglaze to dry almost all the way
  18. Wipe access underglaze away with a wet sponge, leaving the colors only in the indentations
  19. Allow to dry completely 
  20. Clear coat your tumbler by dipping it into clear glaze (S-2000)
  21. Use stilts to glaze fire your piece to cone 06

Supplies

Form

  • 1 1/2 lbs of low-fire clay

Colors

  • OS489 Saddle Brown
  • OS531 Rosy Tan
  • OS463 Medium Green
  • OS466 Avocado
  • OS571 Curry
  • OS493 Sandalwood

Decorating Accessories

  • Soft bristle brush

Miscellaneous Accessories

  • Needle tool
  • Slab roller or rolling pin
  • Cup to use as mold
  • Scrap paper
  • Sponge
  • Water
  • Loop tool or other carving tool
Top