Before applying your magic metallics, your leather piece should be cut, burnished, and shaped. Make sure it is fully dry. Note: Sewing can be done before or after the painting process.
Using AB-307 3/4 Angular Shader Acrylic Brush, apply one thin layer of Copper Magic Metallic. you will see streaks, but that’s not a problem at this point.
Let dry for a few minutes.
Apply a second layer and let dry.
Add a third and final layer to ensure full coverage if streaks still appear, but many times only two layers will be sufficient.
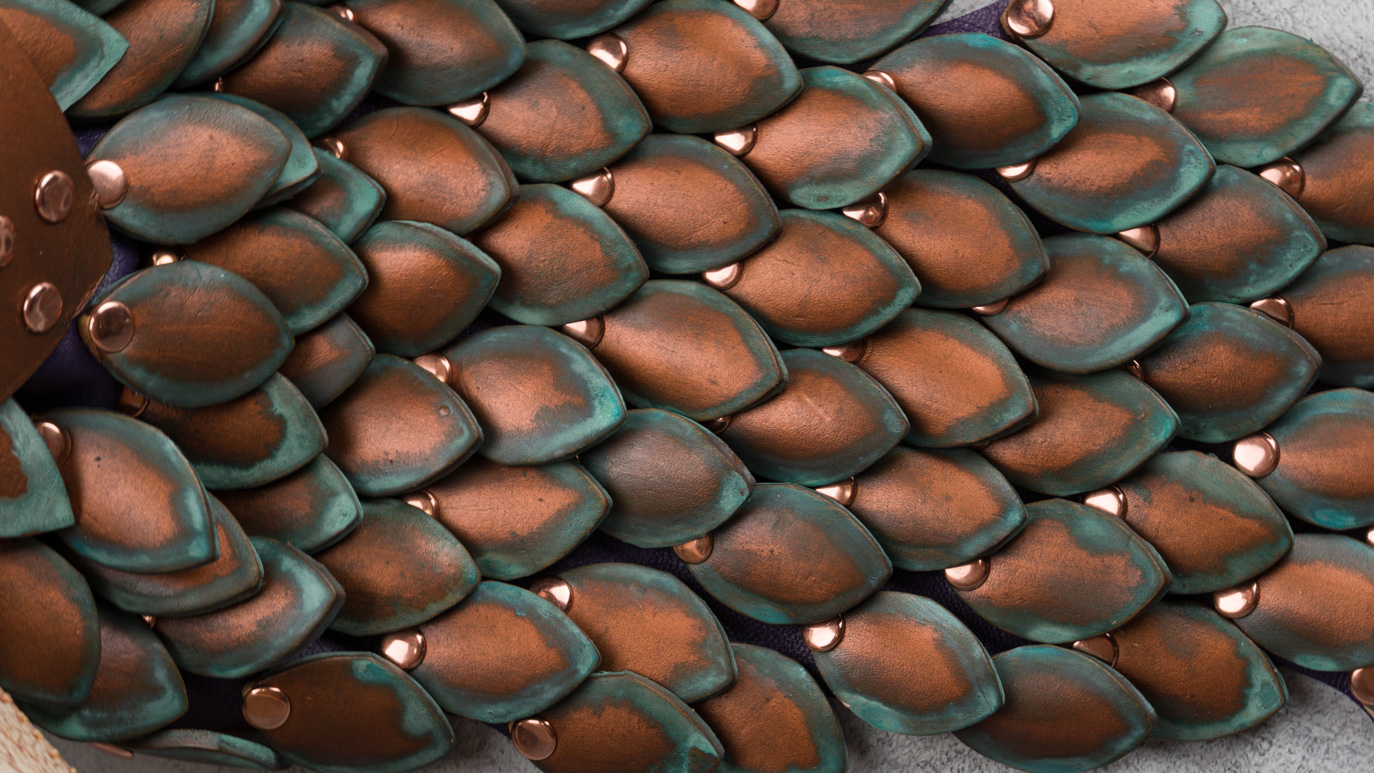
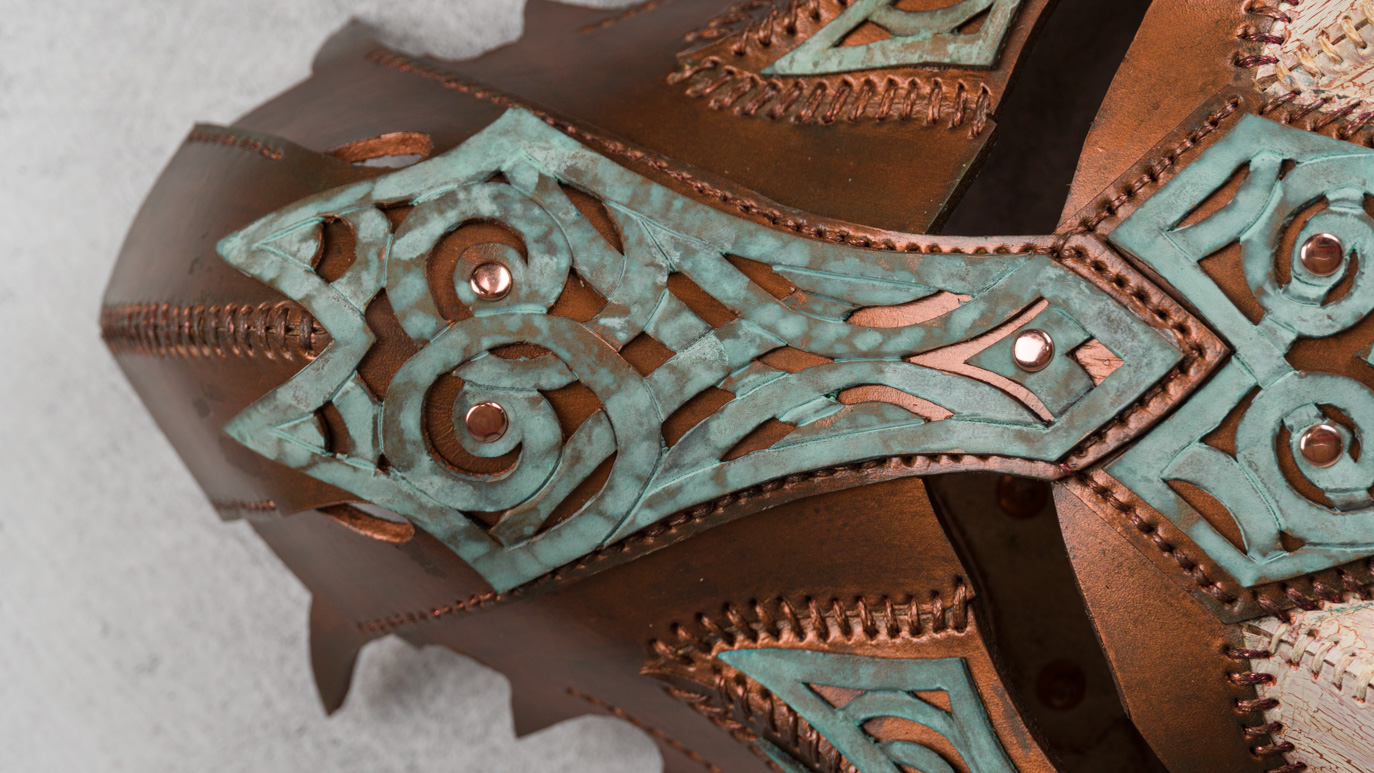
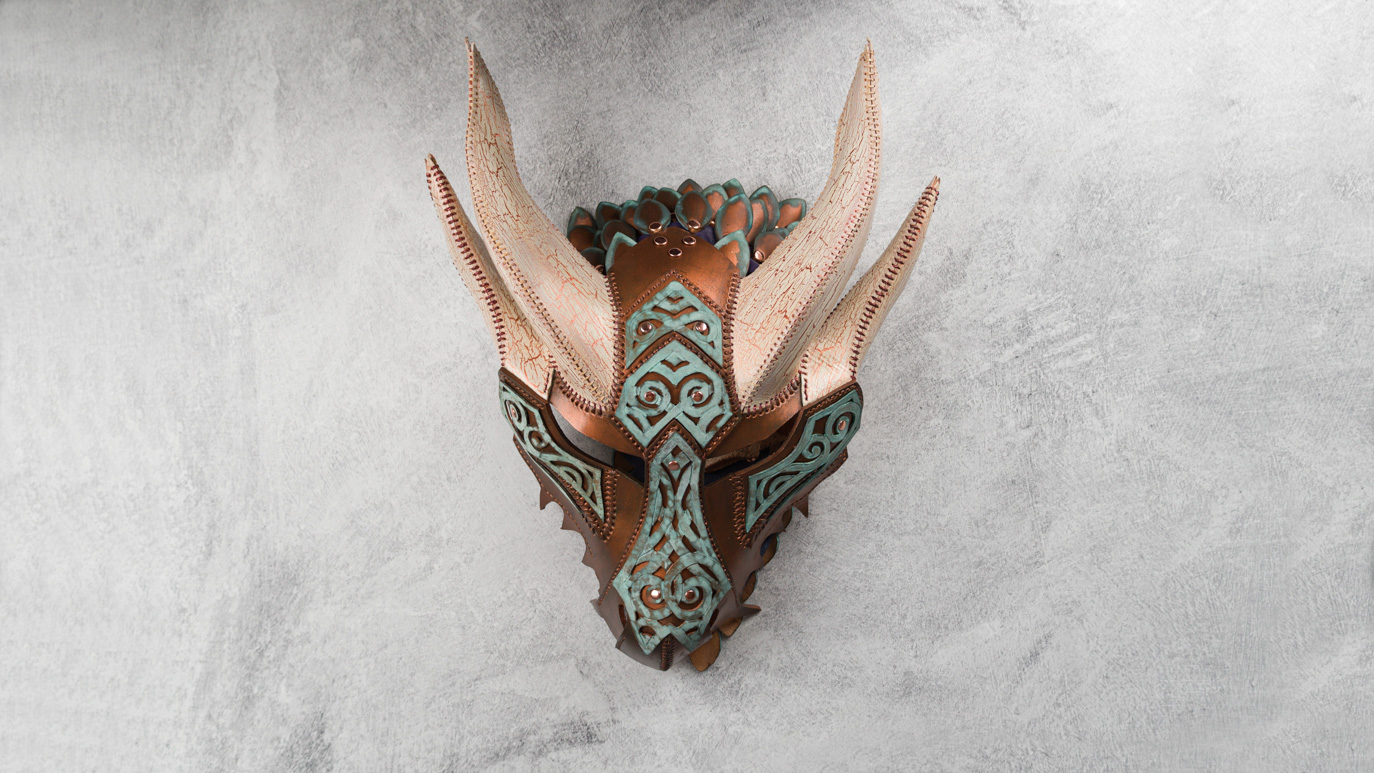
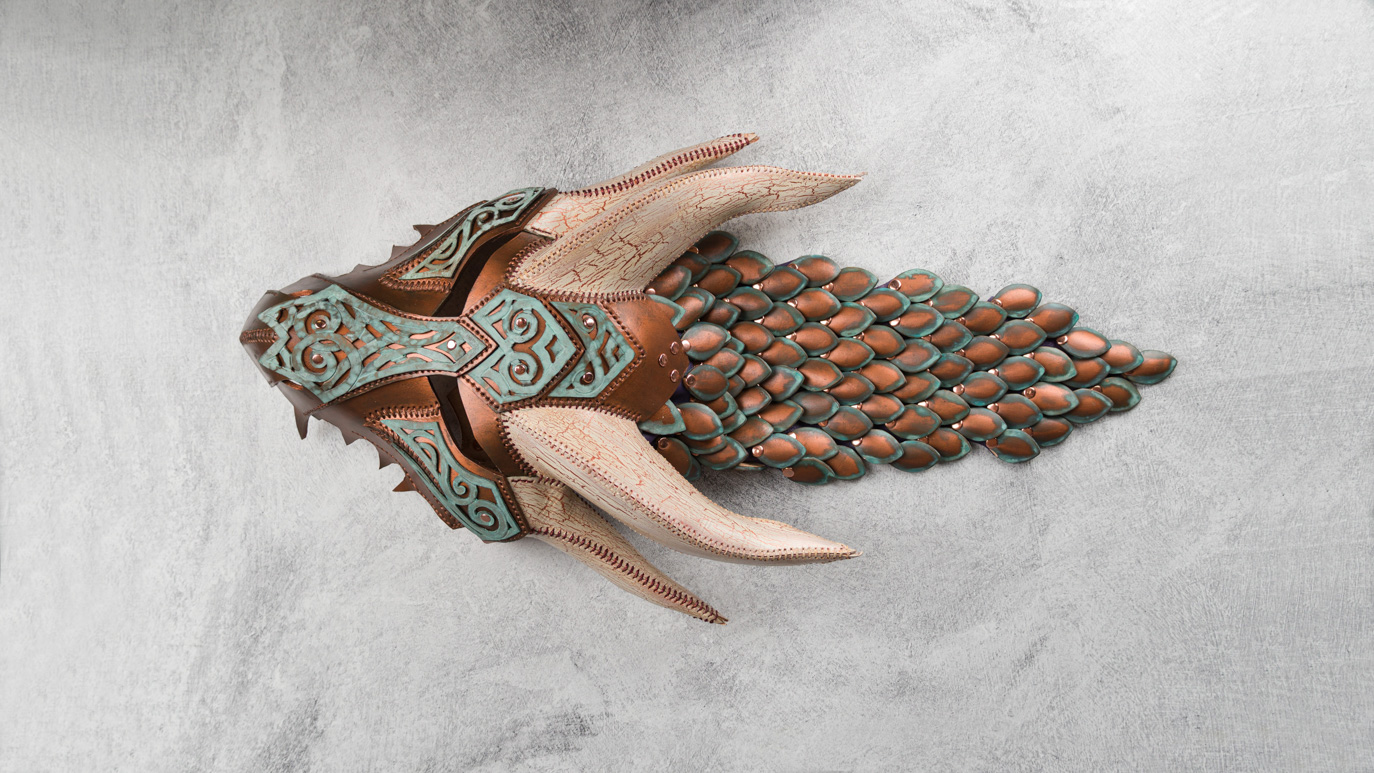
Cover with a flexible clear sealer right away to retain the bright copper penny look or wait a week+ before sealing and the copper will begin to take on a darker tone. The clear sealant will slow the change in color dramatically, but like the leather itself, it will begin to take on different characteristics over time.
After your second coat of copper, work in small areas to apply a third coat of copper.
Do not let this third coat dry!
Follow immediately with AB-704 #3 Round Acrylic Brush loaded with the Patina and go over the wet copper paint. Be generous with the patina!
Seal with a flexible clear sealant or leave alone to let nature work its magic over time!