Form
- Approx. 4-5 lbs Moist low-fire Clay, slip or slurry made from the same clay used
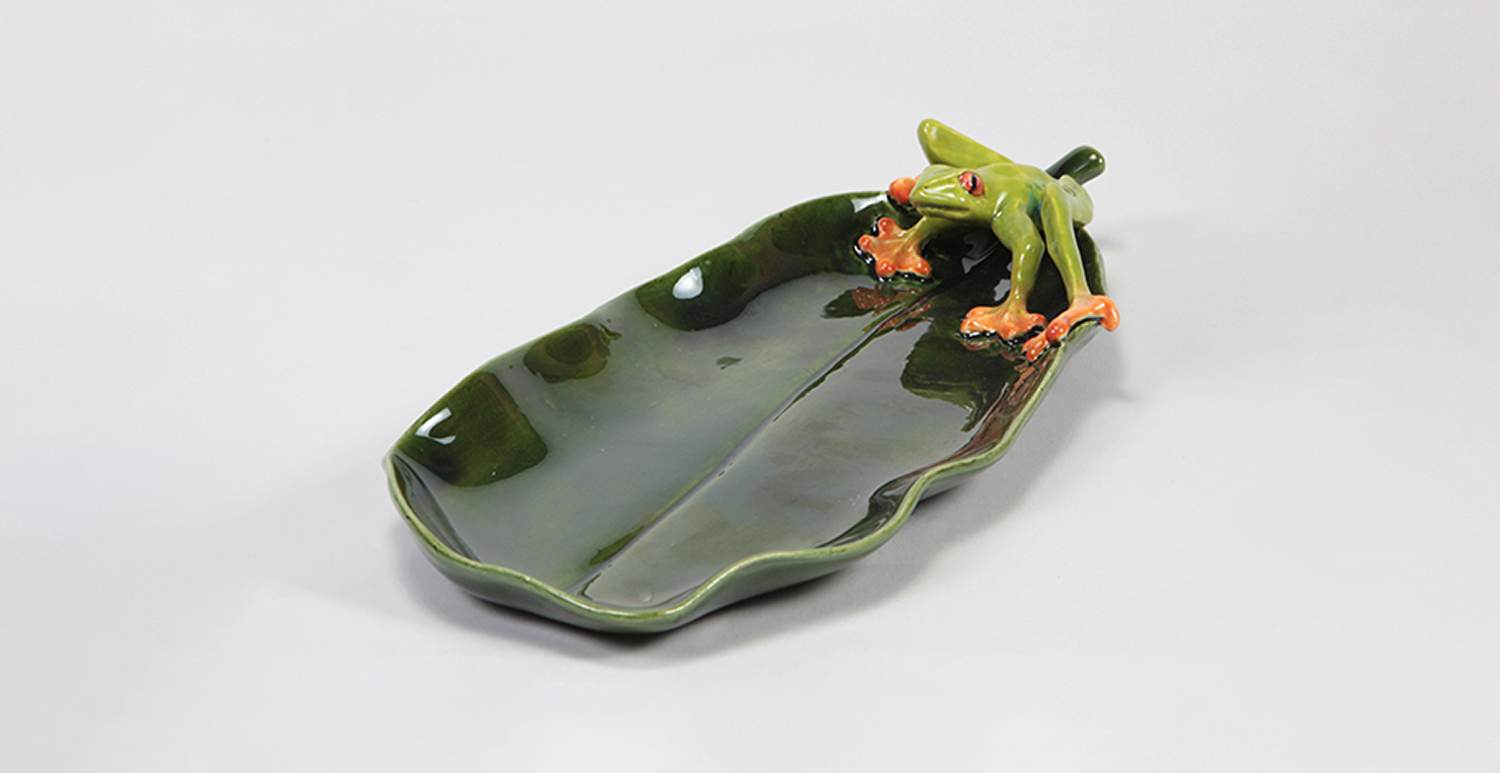
- Negative (Slump) portion of CD-777 Oval
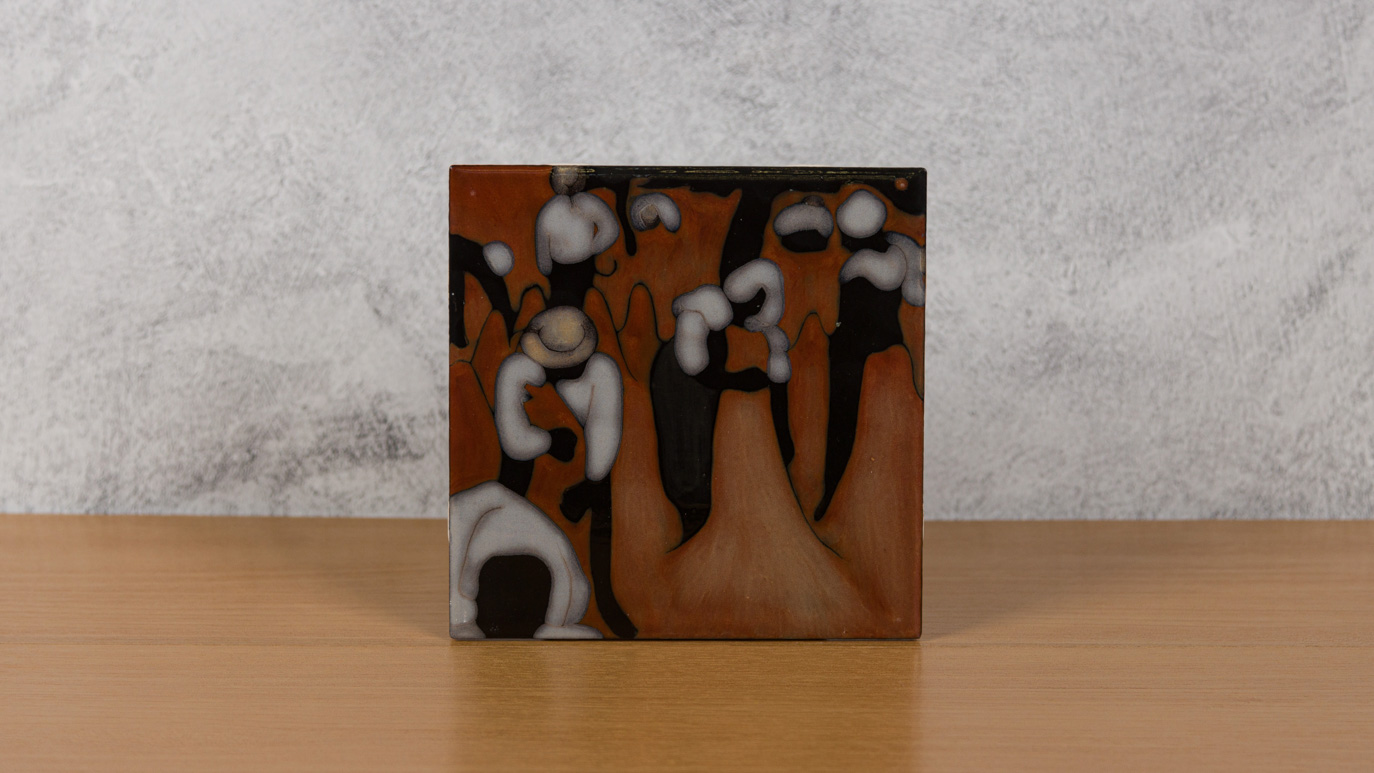
Colors
- UG-50 Jet Black
- UG-51 China White
- S-2101 Crystal Clear Brushing
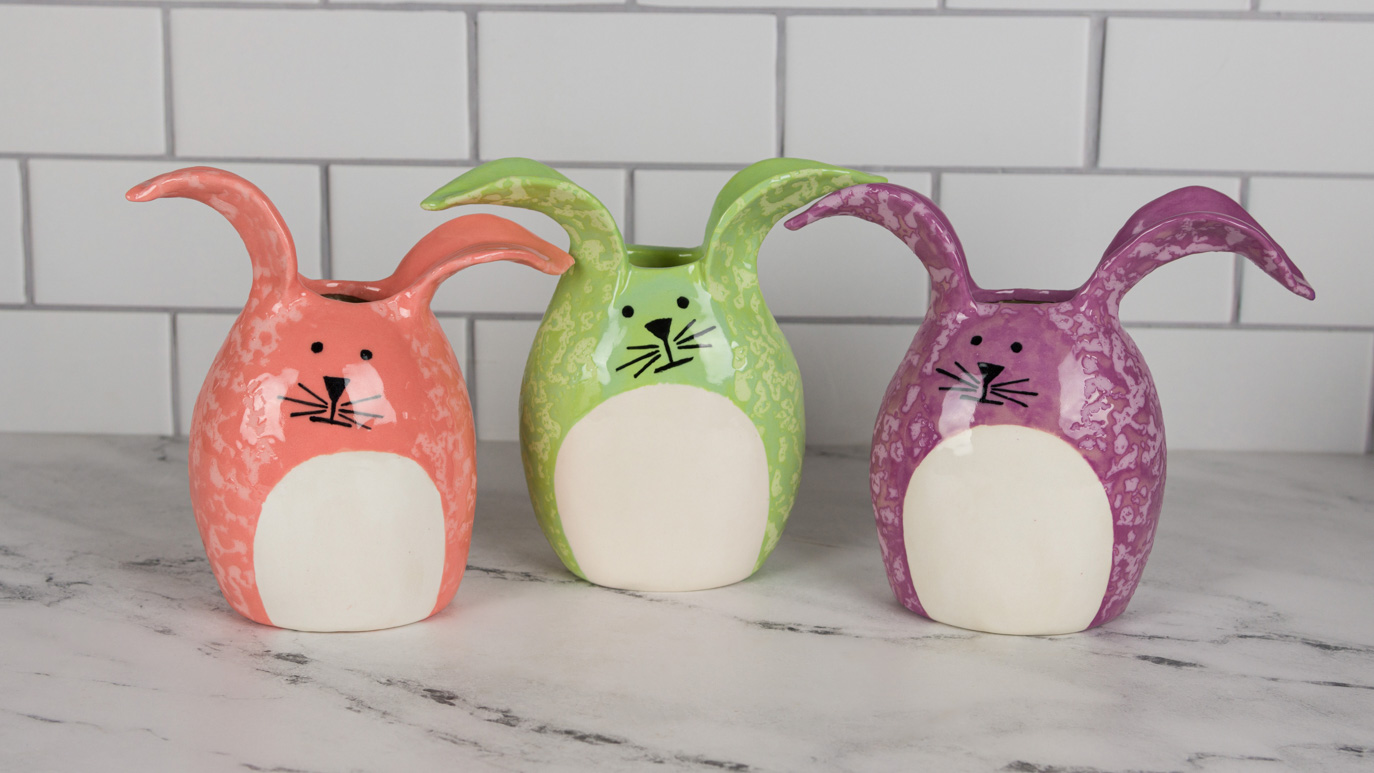
- UG-22 Spring Green
- UG-87 Regal Purple
- UG-216 Peach.
Decorating Accessories
- CB-110 Liner
- CB-604 Soft Fan
- AC-302 Wax Resist
Miscellaneous Accessories
- Pattern
- Clean Up Tool
- Fettling Knife
- Various Modeling Tools
- Needle Tool
- Rubber Rib
- Sponge
- Natural Sea Wool Sponge
- Pencil
- Rolling Pin
- Two 1/4” Wooden Slats
- Canvas material
- Plastic Cup
- Mild Liquid Detergent
- Aluminum Foi