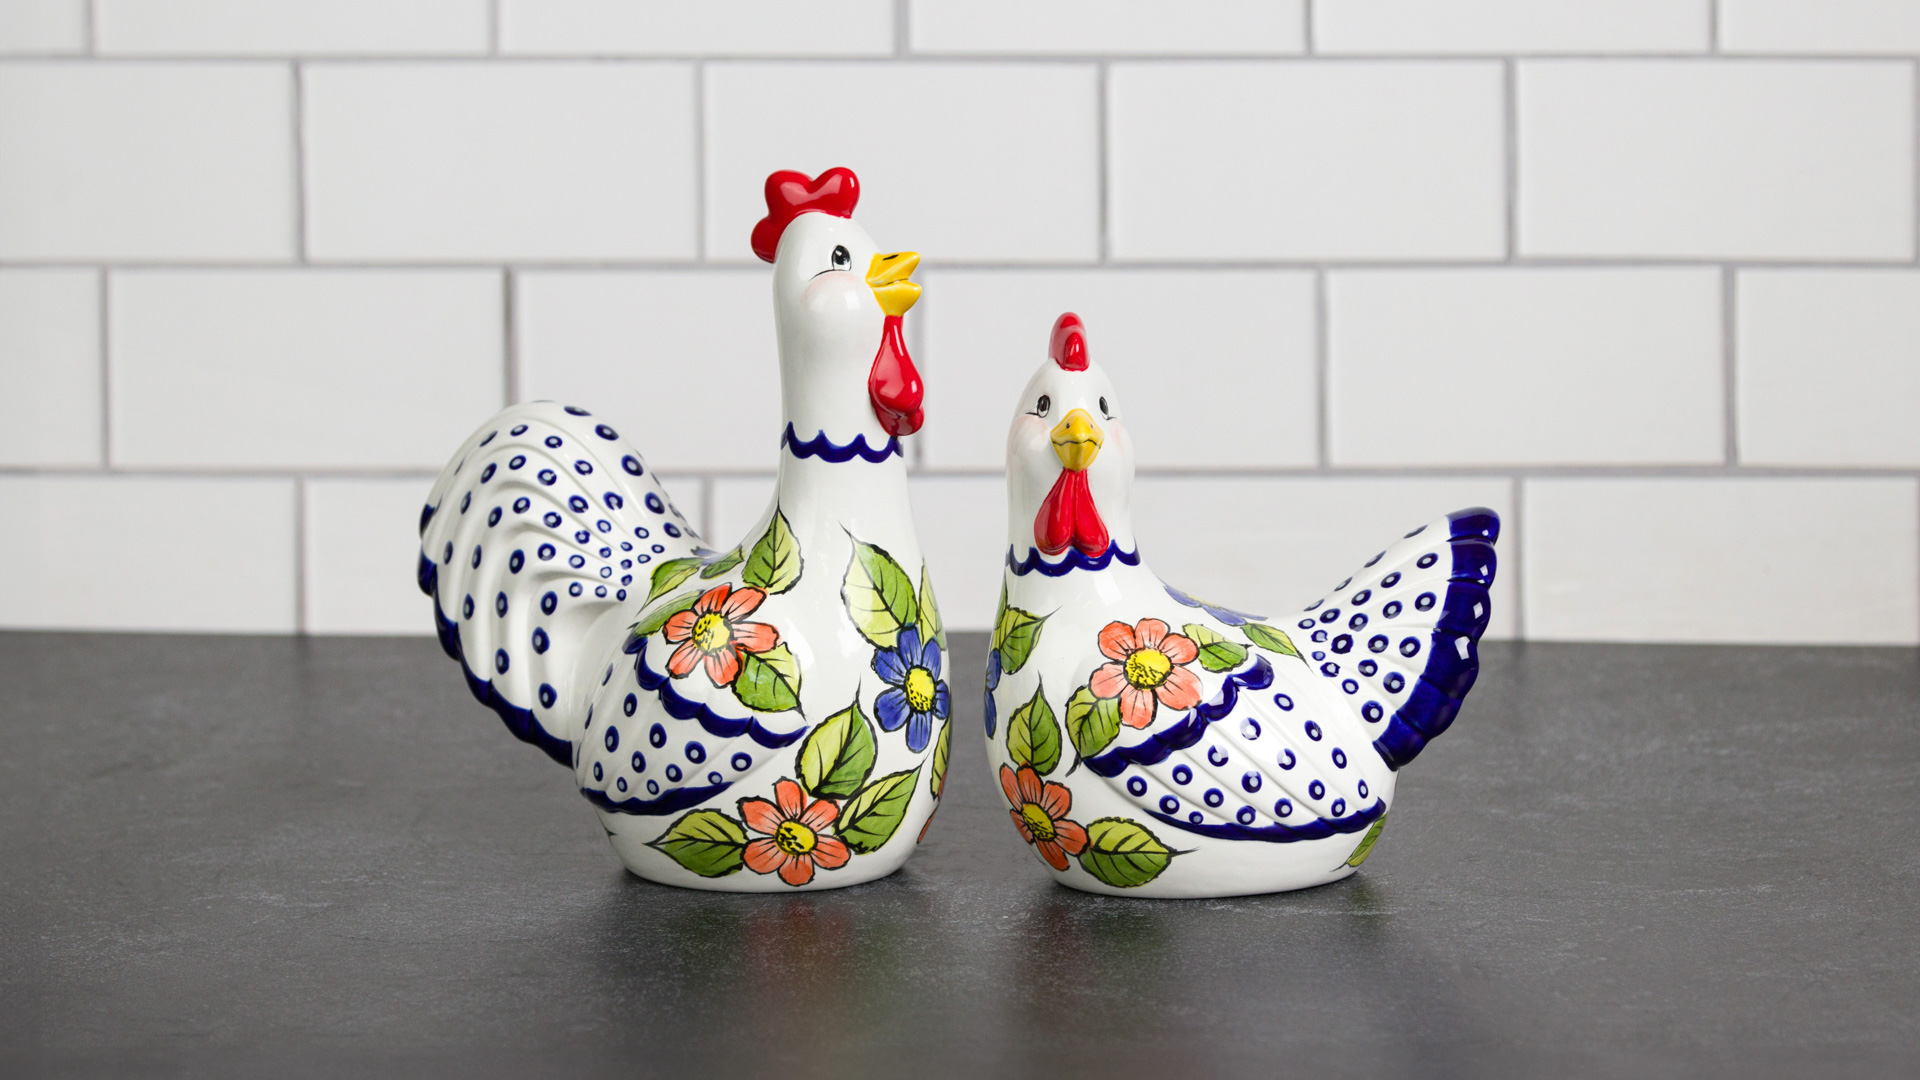
- Begin with properly fired shelf cone 04 bisque. Moisten a clean sponge and wipe bisque to remove any dust.
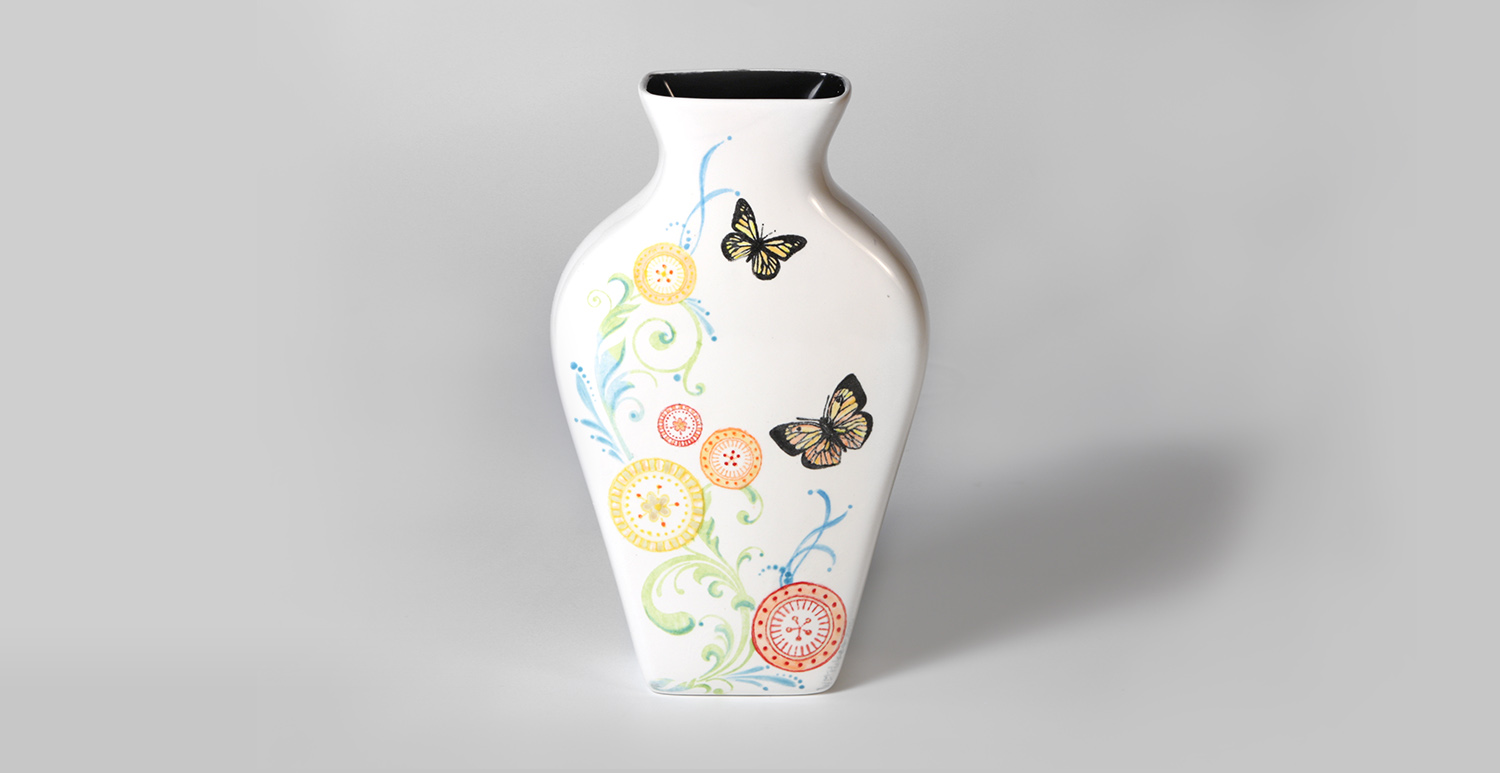
- In a plastic cup, pour 2 oz. of FN-009 Black and thin with a bit of water to a melted ice cream consistency. While working quickly, pour the thinned black glaze into the vase, rotating the piece until all inside surfaces are covered. Pour out excess glaze and drain upside down until the glaze has dried. Use a brush to touch up the inside of the throat of the vase with glaze. Wipe off any excess glaze from the outside surface with a damp sponge.
- Using CB-604 Soft Fan to apply 2 smooth coats of FN-001 White to the outside surface. Let dry.
- Transfer the placement of the flower circles and butterflies to the vase using a pencil and AC-230 Clay Carbon. A simple circle denoting the size and placement of the flower shape and rough outline of the butterflies is all that is necessary.
- The stamping of the flowers is completed easier if the individual shapes are cut from the stamp mat. More caution is involved when stamping as well as the cumbersomeness of using the mats if the shapes are not cut from the mat. Depends if you want to destroy the mat for this project.
- On a tile place some of each color SG-403 Red, SG-408 Orange and some SC-407 Yellow with a drop or two of SG-408 mixed into this yellow color. The lower and the upper smallest flowers are done in Red. Use a dry Sponge-on-a-stick to apply the color to the stamps. You can use a piece of masking tape formed into a loop to create a handle for maneuvering and printing the stamp shape. Place the stamp on the area marked for the flower. Press firmly and then lift the stamp straight up so the print isn’t smeared. Repeat this process with the Yellow mixture for the two yellow flowers and for the one orange flower with the appropriate sized stamp and color. Let dry.
- To the two red flowers; detail the outer circles of each flower with thinned SC-23 Jack-O-Lantern. To the orange flower; detail the outer circle with thinned SC-24 Dandelion. The yellow flowers; detail the outer edges with thinned SC-42 Butter Me Up. Use the Detail Liners to detail the centers of each flower with a contrasting color. Yellow for the red flowers, Red for the orange flower and Orange for the yellow flowers. Let Dry.
- Cut some Blue Masking Tape to the cover the flower circles. They don’t have to be exact but yet need to cover the portions where the silkscreens will go behind the flowers.
- On a tile mix some AC-310 Silk Screen into SC-15 Tuxedo to create a paste the consistency of peanut butter. Mix this color well using the Pallet Knife. Place the Butterfly silkscreen from DSS-0113 Bugs onto the pattern (shinny side down). Two different yet similar butterflies were used from this selection of bugs. The smaller one is used towards the top portion of the pattern and larger one down towards the lower portion in the pattern. Secure the silkscreen (shinny side down) flat against the ware with a piece of Blue Masking Tape. While holding down the silkscreen with the fingers of one hand, then scoop up some of the thickened black mixture with the finger of the other hand and work the mixture over the image. Once the image has been screened, lift the silkscreen off the ware. Let dry. Repeat this process for each butterfly silkscreen. Wash the screen in water after use.
- Use some thinned SC-23 Jack-O-Lantern and SC-24 Dandelion to fill in the colored portions of the butterflies using CB-110 Liner.
- Use the two scrolls from DSS-0103 Flourishes to print the “leaf and stem” portions of the pattern. Separately mix up some SC-11 Blue Yonder and SC-27 Sour Apple with AC-310 Silkscreen Media to peanut butter consistency using the Pallet Knife. Mix well. Tape down the first scroll (shinny side down against the ware) for the lower part of the pattern. You will use both colors when printing this image. The blue color is towards the base of the scroll and the green color for the remaining portions. This will create a two tone print. While holding down the screen with your fingers from one hand, then scoop up some color with the finger from the other hand and work it over the image. When both colors have been completed, lift the screen from the ware. Repeat this step for the other top portion of the pattern in the same manner. Let dry. Remove the Masking Tape from the flowers.
- Trace the added details of the pattern using AC-230 Clay Carbon and a pencil. Using CB-110 Liner loaded with SC-11 Blue Yonder to paint in the long trailing scroll portions at the ends of the flowers. Use the same brush loaded with SC-28 Blue Isle to paint in the “paisley” filler portions of the pattern next to the scrolls.
- Use CB-110 Liner loaded with SC-28 Blue Isle to add some accent embellishments to the silkscreened “leaf and stems” of the pattern. Paint in some dots using the end of a brush handle to the ends of the trialing scroll portions of the pattern and at the ends of the “paisley” parts of the pattern. Let dry.
- Apply one coat of S-2101 Crystal Clear Brushing to the outside of the vase using CB-604 Soft Fan.
- Stilt and Fire to Shelf Cone 05-06.

